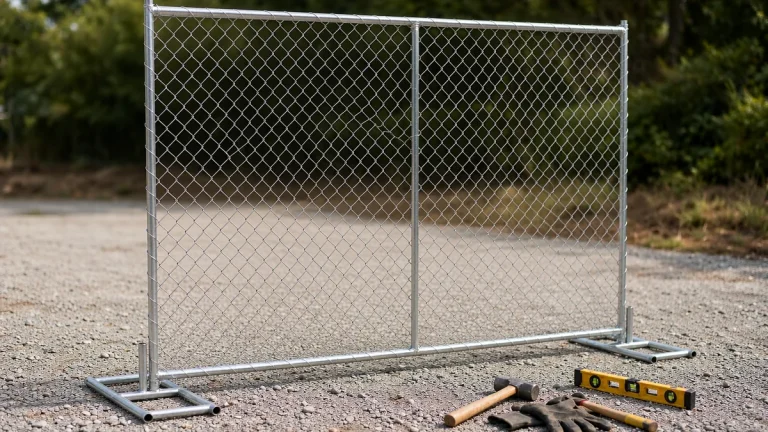
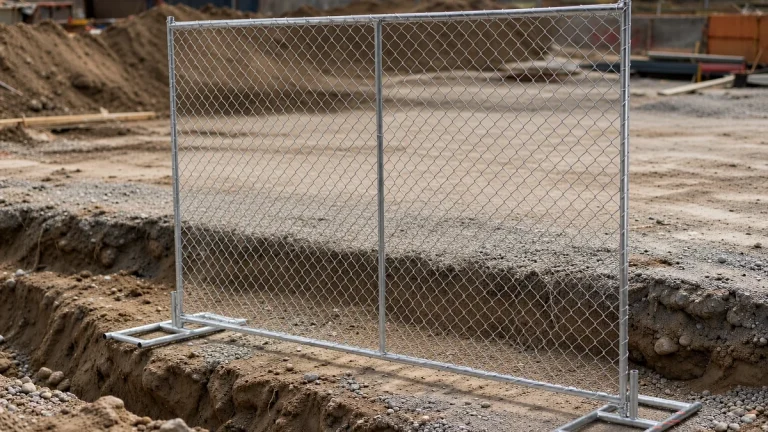
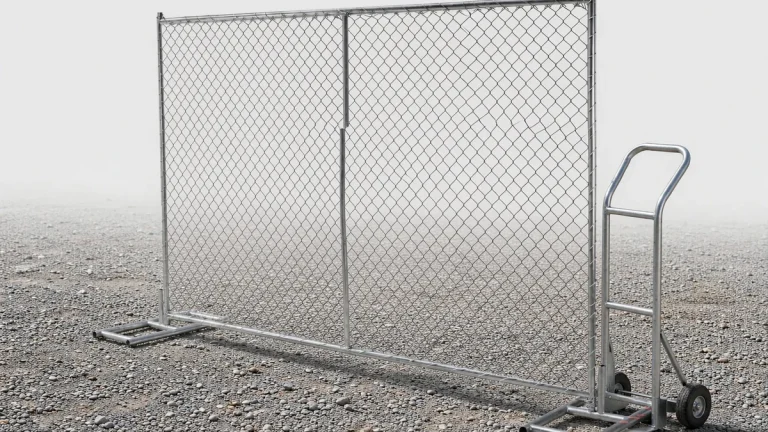
To add a gate to temporary fencing, replace a suitable section of the panel run with a compatible gate assembly. Measure the opening, install the specified gate posts or supported end panels, hang the gate leaf, fit its latch and stop, and reconnect the adjoining fence. Check that the gate opens fully without dragging or moving its supports. Do not cut a standard panel into a gate unless the manufacturer provides an approved conversion.
For an existing fence, keep the boundary secure while the section is open and stabilise the neighbouring panels before disconnecting them. For a new run, reserve the gate bay before calculating panel quantities. In either case, the system’s gate drawing and installation instructions determine the opening, hardware, bracing, and foundations or ballast—not the nominal panel width alone.
Choose a Gate That Fits the Fence and the Traffic
Start with the clear passage needed for people, equipment, or vehicles. Include mirrors, carried loads, and turning space. Decide whether pedestrians need a separate entrance rather than sharing a truck route. HSE’s UK guidance calls for suitable site boundaries and measures to prevent pedestrians being struck by vehicles entering or leaving the site [1].
- Pedestrian gate: a single leaf may suit people carrying tools or moving small carts. Check the usable opening and any applicable accessibility or escape-route requirements.
- Double-leaf vehicle gate: two shorter leaves can reduce the swing depth compared with one long leaf, but both need suitable supports, stops, and securing hardware.
- Sliding gate: consider only a system designed for the available ground, supports, guides, and travel space. It is not a substitute for a swing gate using improvised rollers.
Check the required fence height before selecting the gate. WorkSafe Victoria recommends security fencing at least 1.8 m high, with securely connected gates and joints, installed to the manufacturer’s specifications [2]. HSE says a two-metre-high small-mesh fence or hoarding is typical in populated areas [1]. These are different jurisdictions and contexts, not interchangeable worldwide standards. A 6 ft panel is about 1.83 m high: it exceeds 1.8 m but falls below 2 m, and height alone does not establish site suitability.
What the Published Product Details Show
Haisen’s Canadian-style temporary fence panels are listed at a nominal 6 ft height, with 8 ft, 9.5 ft, and 10 ft lengths. The listed outer frames are 25 × 25 or 30 × 30 mm square tube. By contrast, the chain-link garden gate kit uses a round frame. That published difference is a reason to verify hinge and connector compatibility, not proof that either product can be fitted to the other. This comparison concerns listed specifications, not an installation test.
When checking the fence and wire mesh range, ask for the gate assembly drawing for the exact system. It should identify the leaf size, post or end-panel arrangement, hinge fittings, latch clearance, and support requirements. A matching height or mesh appearance is not enough.
Measure the Clear Opening and the Full Gate Bay Separately
The clear opening is the usable passage with the gate open. The full gate bay is the length the complete assembly occupies along the fence line, including posts and installation allowances shown on the drawing. A nominal “12 ft gate” may describe a different dimension, so confirm what the supplier means before subtracting it from the run.
For example, the table below assumes a straight 60 ft boundary and overall gate bays of exactly 12 ft or 4 ft. Those are arithmetic examples, not promised clear openings or Haisen gate specifications.
| Layout example | Overall gate bay reserved | Length remaining for fence panels |
|---|---|---|
| No gate | 0 ft | 60 ft |
| One vehicle-access bay | 12 ft (3.66 m) | 48 ft (14.63 m) |
| One pedestrian-access bay | 4 ft (1.22 m) | 56 ft (17.07 m) |
If the requirement is a 12 ft clear vehicle opening, do not assume a 12 ft overall bay will provide it. Obtain the complete assembly dimension first. Then use actual installed panel coverage, connector allowances, corners, and approved infill to finish the run. Haisen’s temporary fence panel size guide distinguishes nominal dimensions from installed coverage.
Mark the proposed bay and check the full swing path, vehicle approach, drains, kerbs, slopes, and soft ground. Keep braces and feet out of the usable walking route. Confirm permission and underground-service checks before using driven posts or anchors. The panel installation planning guide covers measuring separate runs; the construction-site layout guide helps place pedestrian and vehicle routes before quantities are finalised.
Allow for the Gate’s Swing
For a simplified 90-degree swing, the swept area is π × leaf length² ÷ 4. A 12 ft leaf sweeps about 113 sq ft (10.5 sq m); two 6 ft leaves sweep about 28 sq ft (2.6 sq m) each, or 57 sq ft (5.3 sq m) together. These calculations assume an unobstructed quarter-circle for each leaf, ignoring its thickness and hardware offsets. They describe the leaf lengths—not the clear opening or overall bay—and do not establish wind resistance or vehicle turning clearance.
Confirm the Hardware and Support Arrangement
Use the gate kit and support arrangement specified for the fence system and intended opening. A parts check should cover:
- The gate leaf or matched pair, with the specified hinge posts, latch post, or supported end panels.
- Compatible hinges, pins, fasteners, latch, keeper, stops, and any drop bolts or hold-open devices required by the design.
- The adjoining-panel connectors, braces, feet, ballast, foundations, or anchors specified for the ground and site conditions.
Do not select hardware by appearance or frame size alone. Leaf weight, width, operating forces, and wind exposure affect the assembly. A steel U fence post listed for lighter wire or mesh is not evidence of a suitable gate support; use it for that purpose only if the gate-system instructions expressly allow it.
HSE includes site fencing and hoarding within temporary works and states that temporary structures must withstand foreseeable loads and be used for their designed purpose [3]. There is no universal clamp count, ballast weight, anchor spacing, or wind limit that can safely be supplied from the panel dimensions alone. If the instructions do not cover the proposed gate or ground conditions, obtain advice from the supplier or a competent temporary-works designer before installation.
Do not add signs, shade cloth, or screening without checking the revised wind-loading and support requirements. WorkSafe Victoria specifically warns that these coverings may require additional support [2].
Install the Gate Without Destabilising the Fence
Follow the manufacturer’s installation sequence. Keep unauthorised people out of the work area and maintain controlled access while the fence is being altered. Do not leave a loose panel carrying a hanging leaf or an unsecured gap in the boundary.
Set and Stabilise the Supports
Install the designated gate posts or supported end panels to the drawing. Check their position, plumb, and specified spacing, then secure the required braces, ballast, foundations, or anchors before loading them with the leaf. Do not hang the gate from an unsupported neighbouring panel.
Check the Opening Before Hanging
Measure between the supports at the bottom, middle, and top, and compare the results with the assembly drawing and its tolerances. Unequal readings can indicate misalignment or out-of-plumb supports; they do not, by themselves, diagnose the ground condition. Check ground levels separately along the swing path. Correct the supports rather than forcing the leaf to fit.
Hang and Secure the Leaf
Support the leaf during fitting, using appropriate assistance or lifting equipment for its size and weight. Fit and retain the hinge pins and fasteners as instructed, and make sure the assembly is secure before testing its movement. Adjust only as the manufacturer permits. The leaf must clear the ground throughout its intended travel without leaving an unacceptable security gap when closed.
If a slope prevents this, consider a different location or an approved gate arrangement. Do not simply raise the leaf or reverse its swing without checking the clearances, pedestrian route, and system instructions.
Fit the Latch, Stops, and Holding Devices
Align the latch with its keeper so it engages without lifting or pulling the leaf. Fit the specified stop and, for a double gate, any required drop bolts and keepers. Use a designed hold-open device where needed, not a pallet or a rope tied to the next panel. Locking must remain compatible with any required emergency escape arrangements.
Reconnect and Test the Fence Run
Reconnect adjacent panels and complete every specified support and fixing before putting the entrance into service. Open and close the gate through its intended travel several times. Check ground clearance, latch engagement, stops, and support movement. Rocking posts or moving panels require investigation: loose connections, poor ground support, misalignment, or inadequate bracing may be involved. Stop using the gate until the cause is corrected.
Keep a Practical Handover and Inspection Record
Before handover, record the gate-kit identification, opening measurements, installed supports, fixing checks, and results of the opening-and-latching test. Note who checked it and any limits on use. This creates a record of the actual installation rather than relying on a nominal size or a generic checklist.
As a practical routine, check the entrance before daily use and after strong winds, impacts, or relocation, alongside any inspection schedule in the system instructions. Look for loose hinges or fasteners, damaged welds, latch problems, displaced feet or ballast, loose braces, and new ruts or obstructions. A successful swing test is an operational check, not proof of structural or wind-load capacity.
Keep the gate shut and secured when access is not in use, subject to the site’s escape arrangements. Remove nearby climb aids and address access gaps without obstructing the leaf. WorkSafe Victoria recommends security fencing that is difficult to climb and prevents entry underneath [2].
A vehicle-access gate controls an opening; it is not a vehicle-impact barrier. Choose the complete assembly for its intended purpose, and do not put it into use until the opening, supports, hardware, and operating checks meet the system instructions.
Planning a gate bay with posts, clearances, and bracing to confirm?
Send your run lengths, gate width, ground conditions, and destination for a specification check.