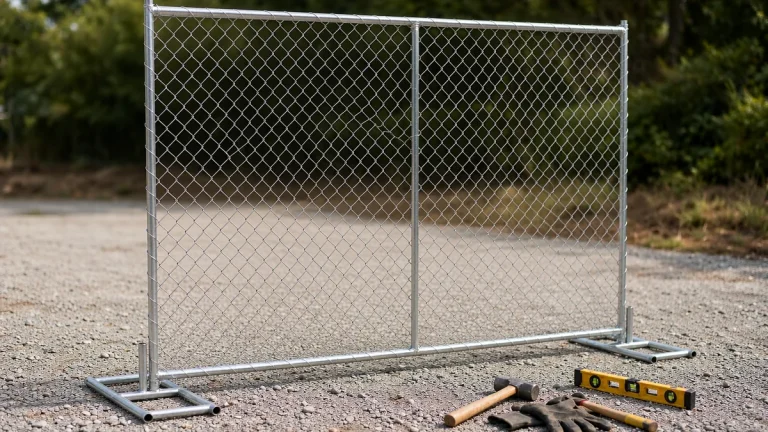
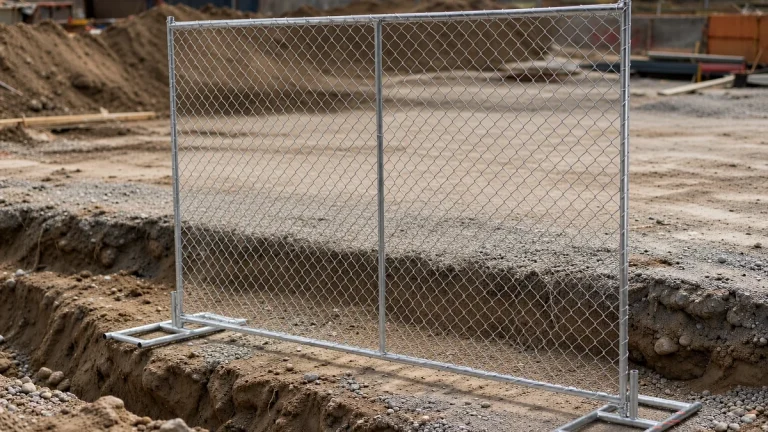
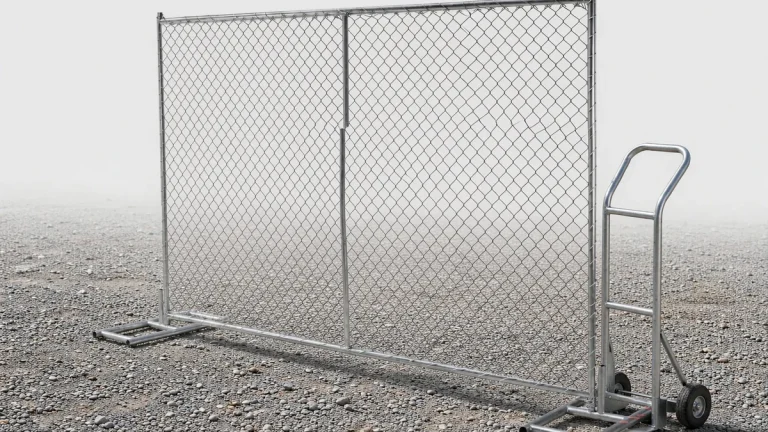
Attach privacy mesh to an approved temporary fence using the screen supplier’s specified ties, clips or lacing, through reinforced edges or eyelets and around the permitted fence members. Position the screen, secure it loosely, work along the top and sides, then fasten the bottom and tighten evenly without stretching the fabric. Keep each panel and gate independently operable. Confirm that the fence supports are suitable for screening before fitting the mesh.
There is no universal tie spacing or ballast quantity. For estimating only, a 6 × 8 ft rectangular panel needs 32 unique perimeter fixing positions if the specified maximum spacing is 300 mm, with a fixing at every corner. The calculation below explains the assumptions; the supplier’s attachment pattern takes priority.
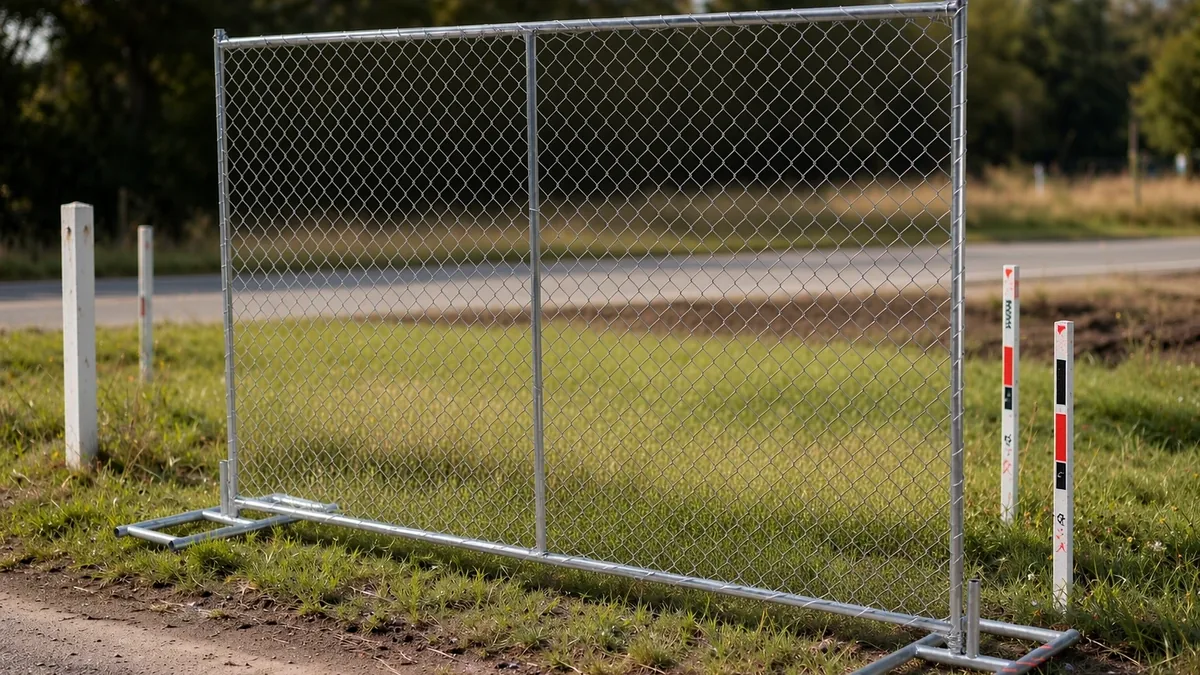
Check that the fence can take a screen
Adding privacy mesh changes the wind loading on the fence. ASTM F3342-19 warns that wind screens form a solid barrier and that a screened temporary fence needs to be researched and designed to support the wind load. Its note refers to 110 mph gusts under ASCE/SEI 7-10; that is a warning about the fence described in the guide, not a wind rating for your fence. F3342 19
WorkSafe Victoria likewise says that fencing with signage or shade-cloth coverings may require additional support. It also calls for proprietary systems to be installed to the manufacturer’s specifications. Construction site security fencing
Before buying the screen, obtain the permitted coverage, fixing type and spacing, brace layout, ballast or anchors, and wind-response procedure for the complete assembly. A bare-fence specification does not establish that the same arrangement is suitable when screened.
Haisen’s published temporary fence installation planning guide puts these checks before screening. Its sequence is useful for planning: establish the layout, connect and support the panels, check the gates, and add the approved covering afterwards.
Choose compatible mesh and fixings
Check the screen’s finished dimensions, reinforced edges, eyelet positions and attachment instructions against the actual panel. A product labelled “privacy mesh” may have different edge details from shade cloth sold by the roll.
University of Wyoming Extension describes shade cloth as usually woven or knitted polyethylene and recommends hems to prevent fraying, with grommets to help anchoring. Its shade percentages describe light transmission; they do not establish a fence screen’s aerodynamic performance. 0721shadecloth.pdf
| Fixing option | What to confirm before use |
|---|---|
| Outdoor-rated cable ties | The specified material, dimensions, loop strength, outdoor suitability and replacement requirements; sufficient length around the approved fence member |
| Purpose-made screen clips | Compatibility with the screen edge and fence member, plus whether the clip is reusable |
| Lacing through reinforced eyelets | The specified cord, lacing pattern, termination and permitted tension |
| Metal rings or wire ties | Explicit approval for the screen and fence, with sharp ends protected from people and animals |
| Proprietary brackets or straps | The complete supplier detail, including any tightening or inspection requirements |
Use the attachment members shown in the approved detail. Frame attachment and attachment to wire infill are different arrangements: do not assume that a fixing approved for one is suitable for the other. Where a screen system permits wire-infill attachment, follow that detail rather than substituting a frame-only pattern.
Ask for the fixing specification rather than choosing by colour or appearance. Dividing the fence’s total wind force by its number of ties does not establish a safe tie strength: fabric shape, fixing direction, load distribution, eyelet strength and the complete load path all matter.
Measure the screen and prepare the kit
Measure each panel’s attachment area, including the distance between the intended fixing members. Measure gates separately. Leave hinges, latches, drop bolts, panel connectors and any required sightlines accessible.
Use the bottom clearance specified for the screen and site. A 50–100 mm gap is not a universal requirement and must not be treated as a wind-load reduction measure. On uneven ground, check the clearance along the whole panel rather than at one corner. For animal enclosures, containment and entrapment considerations also apply.
For roll material, make a cutting list using the finished screen height and each panel width, then add the manufacturer’s required hems, overlaps and cutting allowance. Round the purchase quantity up to whole rolls. Haisen’s mesh quantity guide illustrates this type of takeoff for welded wire mesh; its roll widths and waste percentages are not privacy-fabric specifications.
Gather the specified fixings and spares, a tape measure, suitable cutting tools, gloves and safe access equipment. Use a cable-tie tensioning tool only if suitable for the selected tie and screen. For bolts or clamps with a specified torque, have the correct torque tool available.
Calculate how many fixing positions you need
Count from the approved spacing and attachment pattern. For a rectangular perimeter with one fixing at each corner and no interval greater than the specified maximum:
Unique perimeter positions = 2 × ceil(width ÷ spacing) + 2 × ceil(height ÷ spacing).
Here, “ceil” means round up to the next whole number. Use the same units throughout. This counts shared corner positions once; extra corner fixings, intermediate rails and other reinforcements are additional.
Worked example: a 6 × 8 ft panel
Assume a full rectangular attachment perimeter 2,438.4 mm wide and 1,828.8 mm high. If the approved maximum spacing is 300 mm, each horizontal edge needs nine intervals and each vertical edge needs seven. That gives ten positions on the top, ten on the bottom and six additional positions on each side: 10 + 10 + 6 + 6 = 32.
With equal intervals on each edge, the horizontal spacing is about 271 mm and the vertical spacing about 261 mm. Both are below 300 mm. A 28-position arrangement with nine positions across each horizontal edge and seven along each vertical edge would create approximately 305 mm intervals, exceeding that maximum.
| Assumed maximum spacing | Unique perimeter positions on one 6 × 8 ft panel | Ten separate panel screens |
|---|---|---|
| 200 mm | 46 | 460 |
| 250 mm | 36 | 360 |
| 300 mm | 32 | 320 |
| 400 mm | 24 | 240 |
These are quantity examples, not recommended spacing options. Actual eyelet positions may require a different layout. Count the finished screen’s fixing positions and add the specified extra attachments and an ordering allowance for damaged or lost fixings.
Attach the privacy mesh step by step
- Complete the fence supports. Connect the panels and install the braces, bases, ballast and anchors required for the screened configuration. Confirm the ground conditions and gate operation before unfolding the screen.
- Lay out one screen. Check its orientation, dimensions, reinforced edges and eyelets. Replace damaged material before installation.
- Position the top edge. Start at a top corner and place a few fixings loosely through the designated edge points and around the approved members. Support the remaining fabric while positioning it; do not leave it hanging unattended from a single fixing.
- Work across the top. Add the remaining top fixings in the specified pattern. Keep the edge aligned and avoid pulling one corner tight while the rest hangs loose.
- Secure both sides and the bottom. Maintain the specified clearance and use all required attachment positions. Do not leave an unsecured flap projecting beyond the panel.
- Tighten progressively. Take up slack in small stages around the perimeter. Keep the fabric flat without stretching the material or distorting the eyelets. Follow any stated tension or torque requirements.
- Finish the fixings. Cut disposable tie tails cleanly and orient the cut ends away from likely contact. Protect exposed metal ends using the approved detail.
- Check the completed panel. Look for missing attachments, damaged eyelets, loose edges and interference with connectors or supports. Inspect both sides without deliberately pushing an unverified fence as a substitute for a stability assessment.
- Check the gate and hand over the record. Operate the gate through its full travel, confirm the latch engages, and record the installed screen, fixing pattern, support arrangement and inspection responsibility.
Stop if the fabric cannot be controlled safely in the wind. The site’s installation and removal procedure should specify workable conditions and who can authorise the job.
Handle gates, corners and public access separately
Screen a gate leaf only where its frame, hinges, supports and latch are approved for the additional load. Attach its screen entirely to that leaf; never bridge the opening, hinge line or joint to a fixed panel. Screening may move with an approved gate leaf while the latch and swing path remain clear.
At corners and changes of direction, use the specified screen termination and fixing detail. Extra ties cannot compensate for missing structural support. Allow space for feet, connectors, braces and ballast instead of overlapping panels to force a fit. Haisen’s panel size and layout guide explains why gate assemblies and corners need their own layout allowance.
Keep vehicle sightlines, emergency routes and safety information unobstructed. HSE’s construction guidance says the perimeter should reflect the site and its surroundings; in populated areas it typically describes a two-metre-high small-mesh fence or hoarding. This is UK guidance, not a universal panel-height specification. Publicprotection.htm
A nominal 6 ft panel is 1.8288 m high. Check installed height, ground gaps and the local requirement separately. Extending loose fabric above a panel does not create a taller structural barrier.
Understand the wind-load check
Shade percentage is not an open-area coefficient for structural design. Neither a darker screen nor a claimed percentage of privacy tells you how much wind force the assembled fence will experience.
The CLFMI Wind Load Guide provides a useful illustration of scale, but explicitly covers chain-link fence systems. Its Table 17 lists 26.33 lb/ft² at 110 mph for exposure C in the 0–15 ft height band. These are strength-level pressures; the guide requires a factor of 0.6 for its allowable-stress-design comparison. WLG Final 2.12 23 ml.pdf
For an illustrative full-face 6 × 8 ft area, multiplying that tabulated pressure by 48 ft² gives 1,264 lbf, approximately 5.62 kN. Applying the guide’s 0.6 conversion gives 758 lbf, approximately 3.37 kN. This demonstrates the scale of a covered-area load; it is not a certified load for a welded temporary panel, a measured screen performance result or a ballast prescription.
The actual design must address the adopted local standard, site wind and exposure, screen properties, geometry, relevant aerodynamic factors, connections, supports and ground. Do not apply a universal “11.3 times” increase to all privacy mesh, or select ties from an equal-share division of the illustrative force.
WorkSafe Victoria identifies fences and hoardings as temporary site structures and says they should resist the severe weather expected at their location, including uplift and lateral wind loads. Temporary site structures
For a screened fence, ask the supplier or competent designer to specify:
- Permitted screen material, dimensions and coverage.
- Fixing type, attachment members and spacing.
- Brace locations and connections, including ends, corners and gates.
- Ballast mass and position or anchor details appropriate to the ground.
- Inspection triggers, the wind-response threshold and the removal procedure.
Haisen’s guide to keeping temporary fence feet from moving explains why there is no universal sandbag count. Ballast needs a designed connection and arrangement; placing a block beside a foot does not establish a load path. Check underground services before installing ground anchors.
Check additional requirements for dog runs
Privacy fabric is a visual screen, not a substitute for a secure animal enclosure. Keep accessible loose loops, sharp fixings and chewable edges out of the enclosure. Select the attachment and clearance for the particular dogs, including their ability to reach the fabric.
The Canadian Council on Animal Care requires enclosure walls to prevent dogs climbing or jumping between enclosures. Its guidance concerns animals in science; it is useful welfare context, not a general legal specification for household kennels. CCAC_Guidelines Dogs.pdf
For licensed dog boarding in England, DEFRA’s guidance specifies wire at least 2 mm in diameter where dogs can access mesh, square mesh no larger than 50 × 50 mm, and chain link no larger than 75 × 50 mm. It also requires openings small enough to prevent head passage or entrapment of limbs and body parts. A construction panel with 50 × 100 mm openings cannot be assumed suitable merely because its wire exceeds 2 mm. Dog kennel boarding licensing statutory guidance for local authorities
Check the bottom gap at low points and gates, and provide the enclosure’s required dig-proof and escape-prevention measures. Avoid enclosing every side in a way that compromises ventilation or observation. Assess the complete enclosure, including its gate and supports, rather than judging it by wire diameter alone.
Panel face area is not kennel floor area. As a geometry example, four 8 ft-wide panels forming a square enclose a nominal 8 × 8 ft = 64 ft² (5.95 m²). Six such panels forming a rectangle with two panels along each long side enclose 16 × 8 ft = 128 ft² (11.89 m²). These figures ignore connector dimensions and usable-space losses; they are not animal-capacity recommendations. Plan usable space after shelter, beds and equipment using the relevant welfare requirements and the dog kennel size and layout guide.
Inspect, remove and store the screen
Use the supplier’s inspection schedule and the site’s risk assessment. Include additional checks after adverse weather, impact, relocation or a change in screening. The following is a practical inspection checklist, not a universal statutory timetable.
| Check | Action when a problem is found |
|---|---|
| Missing or damaged ties, clips or eyelets | Isolate the affected area as needed; replace with the specified components and investigate recurring failures |
| Loose fabric or an unsecured edge | Restore the approved attachment pattern and tension; inspect the edge for tearing |
| Leaning panels, displaced bases or loose braces | Keep people clear and have the support arrangement assessed before returning the fence to service |
| Gate travel, latch engagement and sightlines | Correct interference and retest operation |
| Forecast conditions approaching the site threshold | Follow the planned response early enough to work safely; do not wait for severe winds to start |
Record the panel location, defect, action, replacement component and person completing the check. A repeated eyelet tear deserves more than another tie: check alignment, tension, screen compatibility and the specified fixing arrangement.
For removal, maintain any barrier needed to protect people, support the fabric, and release fixings in a controlled sequence. Do not allow a partly detached sheet to blow loose. Collect cut ties, store reusable hardware separately, and replace single-use ties at the next installation.
Haisen’s storage and transport guide recommends cleaning panels, keeping them dry, supporting their frames and keeping stack weight off the mesh. Store the screen according to its own manufacturer’s instructions and label its dimensions and condition for reuse.
Questions to resolve before ordering
Can I use ordinary cable ties? Use the grade specified for the screen system and outdoor conditions. A tie’s appearance does not verify its strength, weather resistance or compatibility with an eyelet.
Will more ties make an unsupported fence safe? No. Ties retain the screen and transfer loads into the fence; the complete fence still needs adequate connections, braces, bases and ground support.
What should a quotation include? Compare the screen’s finished size, edge reinforcement, fixings, screened-condition supports, gate details, installation, removal, freight and replacement parts. A low fabric price alone does not establish the cost of the installed system.
What information should I send? Provide the actual panel dimensions, intended screen coverage, site location, exposure, ground conditions, gate layout, intended duration and any site design requirements. Haisen’s temporary fence product page lists its published panel options; confirm the supplied model and its screened configuration before ordering.
Send your panel dimensions, screening requirements, site details and delivery destination so we can discuss the panel specification and quotation.
Sources
- ASTM International, F3342-19: Standard Guide for Temporary Fence Applications for Construction Sites, public Significance and Use, 5.1–5.2 and Note 1. ASTM F3342 Standard Guide for Temporary Fence Applications for Construction Sites — accessed 26 October 2026.
- WorkSafe Victoria, Construction site security fencing, manufacturer instructions and support for covered fencing. https://www.worksafe.vic.gov.au/construction-site-security-fencing — accessed 26 October 2026.
- University of Wyoming Extension, Shedding some light on shade cloth, Summer 2021, pp. 8–9; material, light transmission, hems and grommets. https://www.uwyo.edu/barnbackyard/_files/documents/magazine/2021/summer/0721shadecloth.pdf — accessed 26 October 2026.
- Health and Safety Executive, Protecting the public, UK construction perimeter guidance. https://www.hse.gov.uk/construction/safetytopics/publicprotection.htm — accessed 26 October 2026.
- Chain Link Fence Manufacturers Institute, Wind Load Guide WLG 2445, January 2023; chain-link-only scope, Table 17 and its strength-level/ASD note. https://chainlinkinfo.org/wp-content/uploads/2023/02/WLG-Final-2.12-23-ml.pdf — accessed 26 October 2026.
- WorkSafe Victoria, Temporary site structures, site-specific wind loading and structural stability. https://www.worksafe.vic.gov.au/safety-alerts/temporary-site-structures — accessed 26 October 2026.
- Canadian Council on Animal Care, CCAC guidelines: Dogs, May 2026, section 2.2.2.2, enclosure walls. https://ccac.ca/Documents/Standards/Guidelines/CCAC_Guidelines-Dogs.pdf — accessed 26 October 2026.
- DEFRA, Dog kennel boarding: licensing statutory guidance for local authorities, England; fencing, mesh and entrapment requirements. https://www.gov.uk/government/publications/animal-activities-licensing-guidance-for-local-authorities/dog-kennel-boarding-licensing-statutory-guidance-for-local-authorities — accessed 26 October 2026.