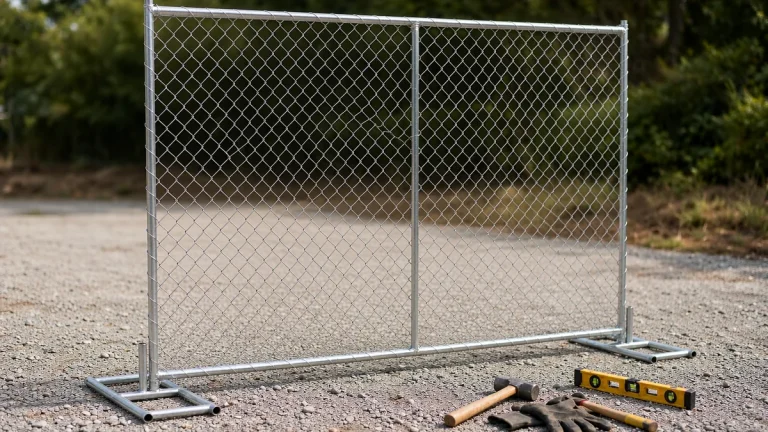
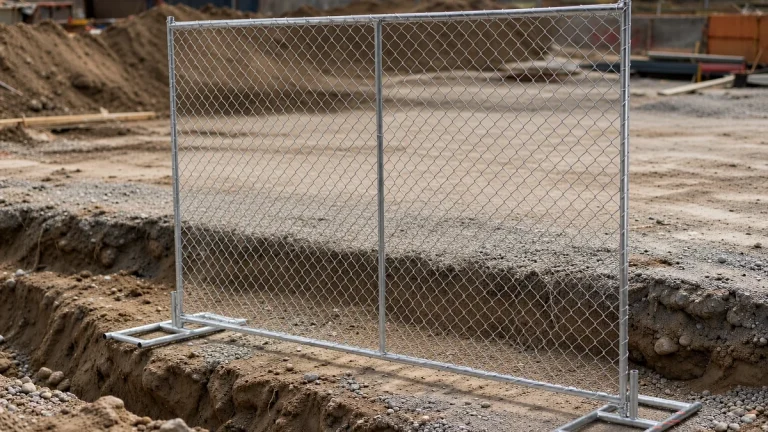
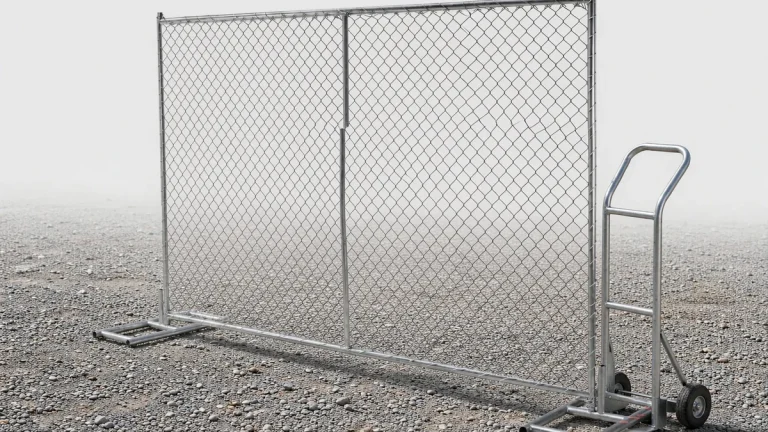
A 10-panel straight run needs 18 panel-to-panel clamps if the system specifies 2 per joint, or 27 if it specifies 3. Count the shared joints, not each panel separately. The required number and position of clamps come from the installation instructions for the particular fence system; the number of horizontal rails alone does not establish them.
For one uninterrupted open run, the calculation is clamps = (panels − 1) × specified clamps per joint. Add gate, brace and end-post hardware separately. Haisen’s published panel dimensions do not establish a universal clamp quantity, so confirm the connection detail before turning an estimate into an installation order.
Clamps per joint and per panel
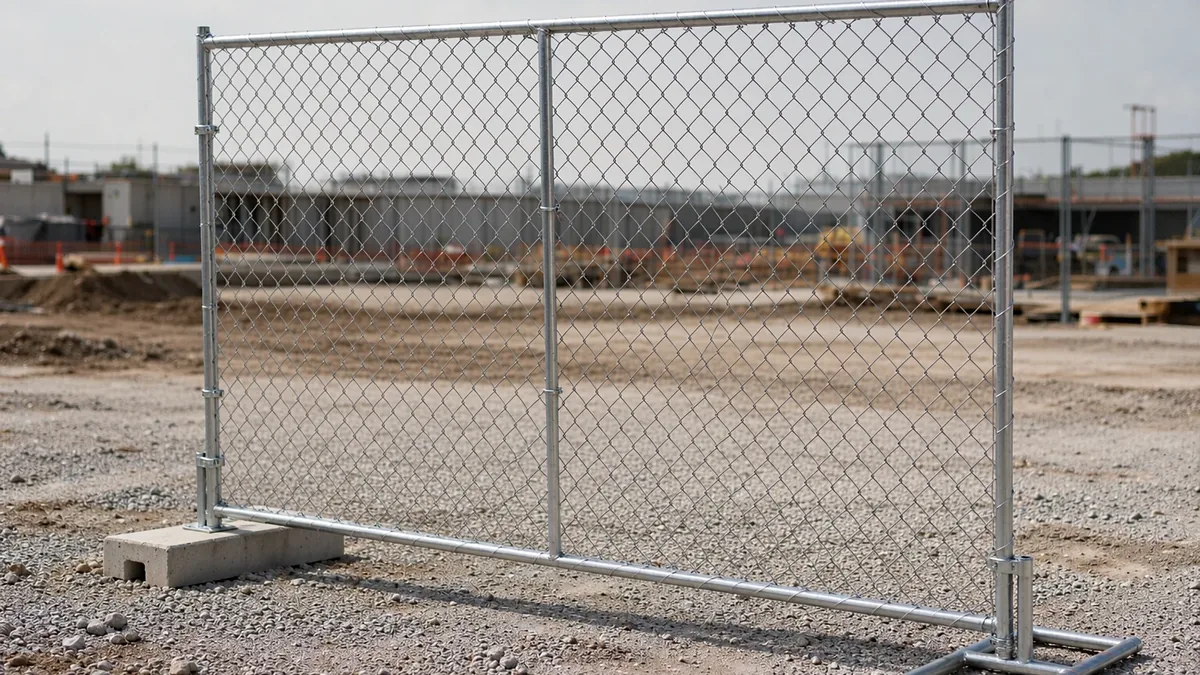
One joint is the connection between two neighboring panels. Its clamps are shared by both panels. Counting those clamps once for each panel doubles the order quantity.
For example, two panels joined at one edge have one joint. If their installation detail specifies two clamps at that joint, the pair needs two joint clamps in total. An interior panel connected on both sides touches four clamps, but those four also serve its neighbors.
The columns below are alternative counting examples, not instructions to choose two or three clamps yourself. They exclude gate fittings, brace connections, panel-to-post connections and spares.
| Panels in one open run | Panel-to-panel joints | If specified at 2 per joint | If specified at 3 per joint |
|---|---|---|---|
| 2 | 1 | 2 | 3 |
| 5 | 4 | 8 | 12 |
| 10 | 9 | 18 | 27 |
| 20 | 19 | 38 | 57 |
| 30 | 29 | 58 | 87 |
| 50 | 49 | 98 | 147 |
| 100 | 99 | 198 | 297 |
An average such as 1.8 clamps per panel means 18 shared joint clamps divided by 10 panels. It does not mean an installer should fit a fractional number to a panel or omit a clamp at an end joint.
Counting clamps for a fence length
First divide the required length by the panel’s effective installed width and round up. Then count the connections in the actual layout. Haisen’s panel size guide lists 6 × 8 ft, 6 × 9.5 ft and 6 × 10 ft options; the second dimension is the nominal width along the fence line.
For a nominal 100 ft open run, with no gate, overlap or joint allowance, the arithmetic is:
| Panel size | Panels | Nominal coverage | Joints | At 2 per joint | At 3 per joint |
|---|---|---|---|---|---|
| 6 × 8 ft | 13 | 104 ft | 12 | 24 | 36 |
| 6 × 9.5 ft | 11 | 104.5 ft | 10 | 20 | 30 |
| 6 × 10 ft | 10 | 100 ft | 9 | 18 | 27 |
The rounded-up coverage matters when the fence must end at a fixed post or boundary. Thirteen 8 ft panels do not fit an exact 100 ft space without a suitable layout adjustment or closing section. Confirm effective installed widths and connection allowances rather than assuming panels can overlap or be cut.
For a site with separate sides, openings or work zones, calculate each uninterrupted run separately. A gate can break the panel sequence and replace ordinary panel joints with gate connections.
Corners, closed loops and separate runs
An open L-shaped or U-shaped run still has N − 1 panel-to-panel joints when all N panels connect in one uninterrupted sequence. Turning a corner changes the connection detail, not the number of panels in that sequence. A closed loop of N panels has N joints.
| Layout | Connections to count | How to handle the hardware |
|---|---|---|
| Open run of 12 panels | 11 panel joints | Apply the specified fitting schedule to each joint |
| Closed loop of 12 panels | 12 panel joints | Separate corner fittings if they differ from straight-joint clamps |
| Two separate runs of 6 panels | 5 + 5 = 10 panel joints | Count the four free ends and their supports separately |
| 12-panel run ending at a gate | 11 panel joints, plus gate connections | Use the gate kit’s own attachment schedule |
Do not assume a corner uses the same coupler or clamp position as a straight joint. Check the permitted connection angle, clearance between feet and any brace attachment. The installation planning guide brings those details together with gates and ground conditions.
A worked order for 12 panels and a gate
Suppose a drawing shows twelve 10 ft panels, followed by a 6 ft gate at one end. That gives 120 ft of nominal panel length and 126 ft including the gate, before connection and post allowances.
For this quantity exercise only, assume the drawing calls for three clamps at every panel joint, one brace assembly using three additional connection clamps, and four gate attachment fittings. These are hypothetical parts-schedule inputs, not a verified Haisen assembly specification or a recommendation for how many braces the site needs.
| Hardware group | Calculation | Quantity |
|---|---|---|
| Panel joint clamps | 11 joints × 3 | 33 |
| Brace connection clamps | Assumed parts schedule | 3 |
| Gate attachment fittings | Assumed gate kit schedule | 4 |
| Total connection pieces | 33 + 3 + 4 | 40 |
This order contains 36 clamps and four gate fittings. It is only an order for 40 identical clamps if the approved parts schedule actually uses the same component in all three places. Hinges, latch parts, posts, feet, ballast and anchors belong on their own lines.
Changing the specified panel joint detail to two clamps would reduce the panel-joint quantity to 22. It would not automatically change the gate fittings or brace hardware. Keep those categories separate so a revised drawing produces a clear revised order.
What Haisen’s published specifications can tell you
Haisen’s temporary fence product specification lists outer frames of 25 × 25 mm or 30 × 30 mm square tube and horizontal pipes of 20 × 20 mm or 25 × 25 mm. That distinction matters when ordering a clamp: identify the tube the clamp actually grips, rather than copying the smaller horizontal-pipe dimension from the specification table.
The published information supports a practical comparison. Two orders can both say “6 × 10 ft panel” while using different outer frame sections. Panel width alone therefore does not identify the correct clamp. Ask for the compatible clamp part number and drawing for each frame option; do not assume either that one clamp fits both or that two different clamps are necessarily required.
Haisen’s factory information describes tube processing, robotic frame welding and component packing, and offers matching drawings, samples and inspection records for specific orders. Those order-specific documents are the useful next step when confirming a connection. Published factory information is not evidence of a clamp load test or of a completed installation.
The quantities in this article are worked calculations using stated layouts. They are not field-test results or customer project records. For a purchasing decision, request a drawing that identifies the panel, clamp, bolt, installation position and support arrangement together.
What determines the installed clamp requirement
The UK Health and Safety Executive lists site fencing and hoarding as temporary works that need planning and management. Its guidance says manufacturers’ instructions must be followed in selecting and using temporary support, and that calculations are needed in all but the simplest situations.[1]
WorkSafe Victoria’s construction-site security guidance likewise calls for securely connected fence sections, installation of proprietary systems to manufacturers’ specifications, and stability under anticipated loads such as strong winds. These are requirements for the assembled fence, not a universal number of clamps.[2]
The publicly available preview of ASTM F3342-19 says panel-type temporary construction fencing should be securely attached together or to supporting posts with steel fittings forming a positive connection. That preview does not establish a clamp quantity for Haisen’s panel options.[3]
Wind, screens and supports
Clamps connect panels; the feet, braces, ballast, anchors and ground conditions form part of the support arrangement. A complete clamp count does not establish that a fence can resist the site’s wind loads. Depending on the system and design, a change in loading may require different connections, additional supports or a different fence arrangement.
ASTM F3342-19’s screening note warns that wind screens form a solid barrier and calls for a screened fence to be researched and designed to support the wind load. WorkSafe Victoria also notes that signage and shade-cloth coverings may require additional support.[3][2]
Do not divide an assumed wind force by a bolt’s tensile strength to obtain a clamp count. The capacity of the complete connection, its load direction and the way loads reach the supports must be established. Ask for a support and connection schedule covering the actual panel, screen, site and ground conditions before installing a screened line.
Bolts and tightening
Specify the complete clamp assembly, including its bolt, nut and required washers. ISO 898-1 describes mechanical properties of certain carbon- and alloy-steel fasteners, but excludes torque/clamp-force performance from its requirements. A property-class marking is therefore not an installation torque for a fence clamp.[4]
Use the clamp manufacturer’s tightening instructions, including any stated torque and thread condition. If those instructions are missing, obtain them rather than tightening until a frame deforms or assuming a generic torque chart covers the assembly. Ask whether the specified finish and replacement fasteners are compatible with the original kit.
Checking a fence already on site
Start with the approved layout and fitting schedule. Counting what happens to be installed at one joint can repeat an earlier installation error across the whole order.
- Mark each panel joint, corner, gate, brace and end-post connection on a sketch.
- Record the specified fitting type, quantity and position for each connection.
- Compare that schedule with the installed hardware, noting missing, loose, damaged or mismatched parts.
- Check the feet and support arrangement as well as the clamps, especially after relocation, impact or strong wind.
- Keep replacements separate from spare stock in the order tally.
SafeWork NSW’s site security checklist calls for securely clamped fence panels and says tie wire or cable ties should not secure posts together. It also calls for suitable configurations, counterweights, baseplates, brackets or braces to prevent collapse.[5]
If a correctly counted fence still moves, do not diagnose the problem from the clamp count alone. The connection fit, tightening, frame condition, supports and ground all need checking against the installation plan. Haisen’s guide to temporary fence feet that move provides related base and support checks.
Questions buyers ask
Does one freestanding panel need clamps?
It has no panel-to-panel joint, so that part of the tally is zero. It may still need clamps or other fixings for braces, posts or its support system. Zero joint clamps does not mean the panel is safe to stand unsupported.
Are two clamps enough, or do I need three?
Use the number and positions specified for your panel-and-clamp system under the intended conditions. The tables show how either specified quantity affects an order. They do not establish that either arrangement is suitable for a particular installation.
How many spare clamps should I order?
Keep spares additional to the full installation quantity. If you choose a 5% purchasing allowance for a 27-clamp order, round 1.35 up to two spare clamps; at 10%, round 2.7 up to three. These are budgeting examples, not a safety standard. Your replacement history, relocation frequency and delivery lead time should set the allowance.
Do clamps come with the panels?
Check the quotation and packing list. Require separate quantities for panels, complete clamp assemblies, feet, braces and gate kits. Haisen’s rental spare-parts guide groups compatible couplers, clamps, bolts, nuts and specified washers as connection parts; confirm what one supplied “set” includes.
Does adding clamps make site panels suitable for animals?
Extra clamps do not reduce the mesh opening, close a gap under the fence or prevent an animal climbing over it. Choose the enclosure for the species, animal size and escape or predator risks, then specify its connections. A construction-panel clamp count does not establish animal-enclosure suitability.
Confirm the count before ordering
For ten panels in one open run, there are nine shared joints: 18 joint clamps at a specified two per joint, or 27 at a specified three. Add the actual corner, brace, end-post and gate fittings, then add any chosen spares. Send the layout with the panel and clamp specifications so the quotation can identify each part rather than a single ambiguous “clamps per panel” allowance.
Send your panel dimensions, frame section, run layout and gate openings to request a matched panel and connection quotation.
Request a QuoteReferences
- Health and Safety Executive, Temporary works — https://www.hse.gov.uk/construction/safetytopics/temporary-works.htm (accessed 26 October 2026).
- WorkSafe Victoria, Construction site security fencing — https://www.worksafe.vic.gov.au/construction-site-security-fencing (accessed 26 October 2026).
- ASTM F3342-19, Standard Guide for Temporary Fence Applications for Construction Sites, public preview, Section 5.2 and Note 1 — ASTM F3342 Standard Guide for Temporary Fence Applications for Construction Sites (accessed 26 October 2026).
- ISO 898-1:2013, Mechanical properties of fasteners made of carbon steel and alloy steel, Part 1, scope — ISO 898-1:2013 — Mechanical properties of carbon-steel and alloy-steel bolts, screws and studs (accessed 26 October 2026).
- SafeWork NSW, Site security checklist, Fencing — https://www.safework.nsw.gov.au/resource-library/construction/site-security-checklist (accessed 26 October 2026).