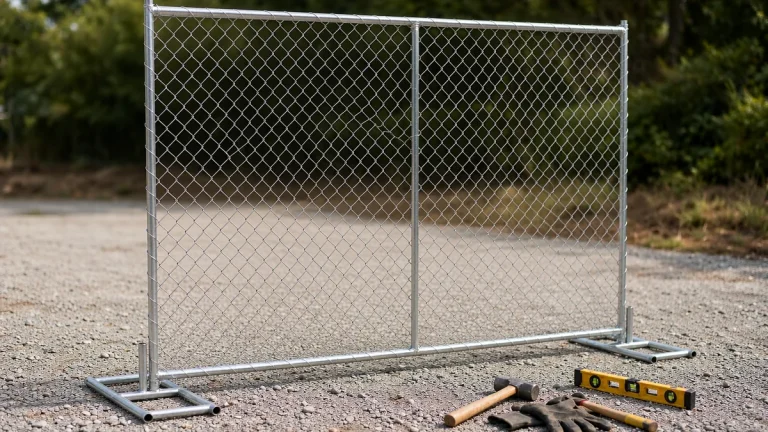
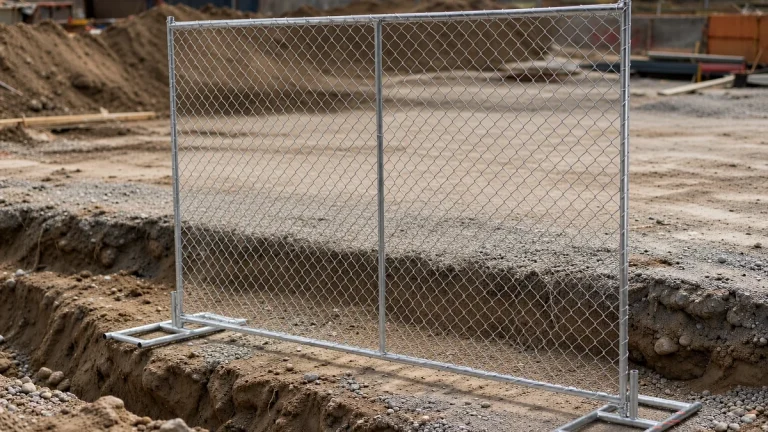
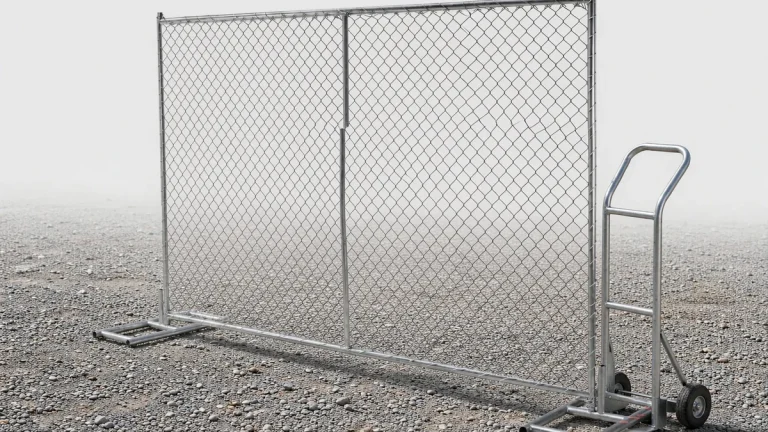
Short answer: Inspect finished temporary fencing against the approved order: verify quantities, measure randomly selected panels, inspect welds and coating, and trial-fit the supplied feet, clamps, and gates. Then check packing and shipping marks. Record the results and release the shipment only when the agreed acceptance criteria and any required corrective actions are satisfied.
Arrange access to unpacked panels for measurements and assembly, then check the completed bundles and hardware cartons before dispatch. If inspection is a condition of balance payment or loading approval, put that sequence in the purchase agreement.
Prepare the specification and inspection tools
Start with a dated purchase order, approved drawing, bill of materials, and packing list. The inspection sheet should identify:
- Panel height and length, frame section and wall thickness, wire diameter, and mesh opening, with tolerances and measurement conventions
- Steel grade and supporting material documents where specified
- Finish type, coating acceptance requirements, and any required test reports
- Quantities and types of panels, feet, clamps, braces, gates, bolts, and spares
- Sampling method, defect categories, acceptance limits, and authority to release or hold the lot
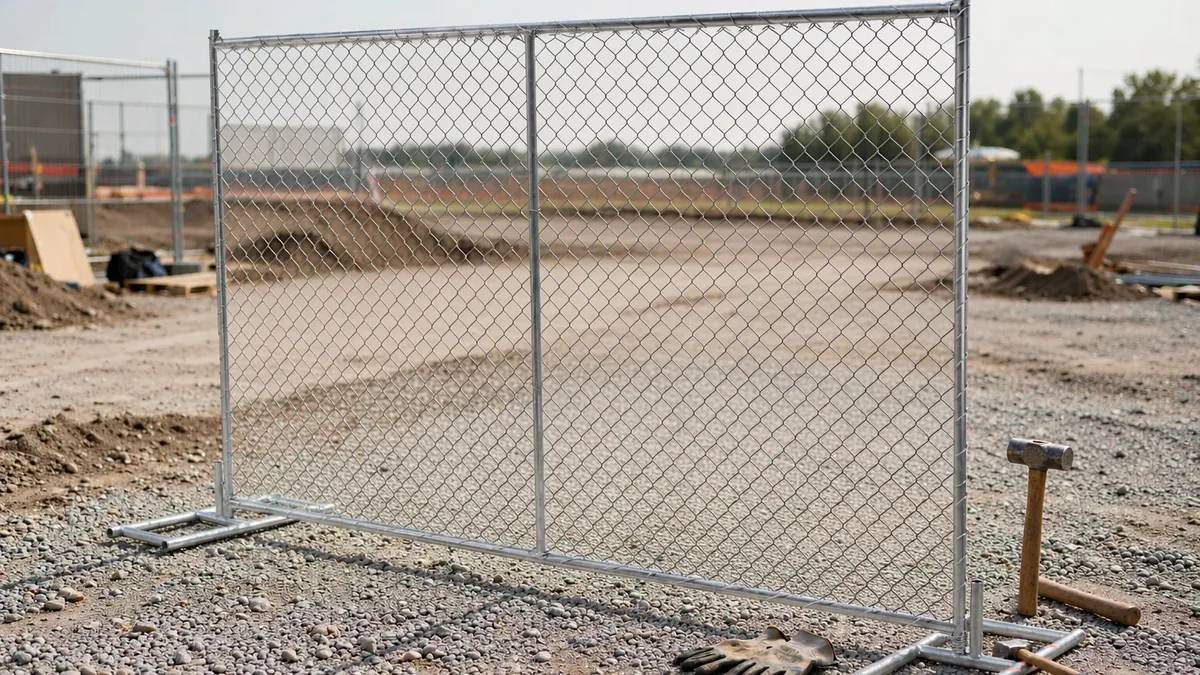
Bring a steel tape, caliper or micrometer, the assembly tools, and a camera. Arrange appropriate coating-measurement equipment if thickness verification is required. Check instrument condition and calibration status where applicable. Resolve missing tolerances before inspection; a product name alone is not an acceptance criterion.
Identify the exact temporary fence panel configuration ordered, rather than comparing it with another model in the fence range. Different sizes, finishes, and accessory systems need their own checks.
Agree on sampling before selecting panels
Define the inspection lots and the sampling plan before choosing pieces. ISO 2859-1:2026 provides acceptance sampling schemes indexed by acceptance quality limit, or AQL, for lot-by-lot inspection. Use the agreed scheme and its acceptance and rejection rules, not an improvised percentage of the order. 85464
- Identify panel and accessory lots by product type and batch.
- Select samples randomly across the lot, with access to more than the easiest bundle or top layer.
- Record the inspection level, applicable AQLs, sample sizes, and acceptance/rejection numbers before checking the samples.
- Define how safety-related defects will be handled, including any checks required on every item.
A sample result supports a lot-level decision; it does not prove that every unexamined panel is defect-free. Do not simply remove failed sample pieces and declare the remaining lot acceptable. Follow the agreed rejection, sorting, rework, and reinspection procedure.
Reconcile quantities and accessories
| Item | Pre-shipment check |
|---|---|
| Panels | Verify bundle counts and panels per bundle against the order; do not assume every bundle contains the same number. |
| Feet and bases | Count each type separately and confirm compatibility with the ordered panels and gates. |
| Clamps, bolts, and pins | Reconcile kit contents, quantities, and ordered spares with the bill of materials. |
| Gates and braces | Check the complete assemblies, including hinges, latches, brace fittings, and fasteners. |
| Documents and marks | Match the packing list, bundle labels, and assembly instructions to the actual shipment. |
Count connections rather than assuming one clamp allocation per panel. For example, an illustrative order could contain 200 panels, 210 feet, and 440 clamps. If those panels form one straight run with two clamps per joint, 199 joints need 398 clamps, leaving 42 spares. That is an assumption for this example, not a universal ratio; gates, corners, and the connector design change the required clamp count. Confirm the layout and quantities against the panel size and layout schedule.
Illustrative full-sort example: If every item in that order is counted and sorted, with 2 panels held for weld rework and 2 feet held for cracked sockets, the remaining stock is 198 panels and 208 feet. The panel count is still short of the ordered 200. Tag the held items and recheck repairs or replacements before release. These exact remaining quantities could not be inferred from random sampling alone.
Measure dimensions, wire, and mesh
Support sampled panels on a flat surface without forcing them into shape. Record each reading alongside the specified value and tolerance; an average can conceal an individual out-of-tolerance result.
- Measure panel height and length at the reference points shown on the drawing.
- Check frame and middle-rail outside dimensions. Verify tube wall thickness with an agreed method; outside size alone does not establish wall thickness.
- Measure wire diameter and state whether the value includes coating. Compare like with like.
- Check mesh in both directions, using the specified clear-opening or wire-center convention.
For nominal imperial panel sizes, the following conversions help catch size or unit mix-ups:
| Nominal panel | Approximate metric size | Calculated face area | Area versus 6 × 8 ft |
|---|---|---|---|
| 6 × 8 ft | 1.83 × 2.44 m | 48 sq ft, about 4.46 sq m | Baseline |
| 6 × 9.5 ft | 1.83 × 2.90 m | 57 sq ft, about 5.30 sq m | 18.75% larger |
| 6 × 10 ft | 1.83 × 3.05 m | 60 sq ft, about 5.57 sq m | 25% larger |
Calculations use nominal imperial dimensions and the exact conversion 1 ft = 0.3048 m; the metric values shown are rounded. Use the order’s governing dimensions and tolerances for acceptance, not these rounded conversions. Nist guide si appendix b8
For an ideal circular wire, area = π × (d/2)² gives approximately 7.07, 9.62, and 11.34 sq mm at diameters of 3.0, 3.5, and 3.8 mm. The latter two areas are about 36% and 60% larger than the first. This is geometry, not a strength test, and assumes the diameter describes the material being compared. Neither wire area nor panel face area establishes wind resistance, anchor requirements, or safe site installation.
Inspect welds, frame condition, and sharp edges
Look for cracked or missed welds, detached mesh wires, bent frames, split tube ends, sharp wire ends, and burrs. Check weld zones and sockets before packing hides them. Record the location and extent of each defect rather than writing only “poor welding.”
Keep damaged pieces identified and segregated while the lot disposition is decided. Touch-up paint is not a structural repair. A visual inspection also does not establish weld strength or steel grade; obtain the specified supporting documents or tests where the order requires them.
Verify the finish and coating evidence
Confirm whether the order calls for galvanizing after fabrication, pre-galvanized components, powder coating over bare steel, or powder coating over galvanized steel. These are different coating systems, not interchangeable descriptions.
If ASTM A123/A123M-24 is specified, check that the product and process fall within its scope. It covers relevant hot-dip galvanized fabricated steel products, but excludes wire, pipe, tube, and sheet galvanized on specialized or continuous lines; certain galvanized hardware is addressed separately. Do not apply it automatically to every galvanized component or to powder coating. A0123_a0123m 24
Inspect for bare areas, peeling, chips, discoloration, and zinc buildup that prevents assembly. Include feet, clamps, braces, and gate hardware. Where thickness is an acceptance requirement, record readings using the specified method, locations, and limits. Appearance alone cannot verify coating thickness.
Photograph white deposits or red discoloration and seek assessment against the agreed coating criteria; do not diagnose severity or approve the lot from color alone. Identify the coating system in the record so checks for galvanized and powder-coated panels are not mixed up.
Trial-assemble the supplied parts
Build a short run from sampled shipment stock, using the supplied hardware and assembly instructions. Two or three panels can provide a practical fit check; include a gate and brace where ordered. This is a suggested assembly check, not an AQL sample-size rule or a structural load test.
Confirm that bases and panel legs connect as drawn, clamps seat correctly, and the supplied bolts tighten without forced alignment. Open and close the gate and check the hinge, latch, and clearance. Fit the braces and pins. If assembly needs unapproved drilling, filing, or substitute hardware, record the mismatch and hold release pending correction. Site wind, bracing, and anchoring requirements still need their own design checks.
Check packing and loading readiness
- Check that racks, supports, and separators protect the frames and mesh from crushing or distortion.
- Protect coated contact surfaces and edges from rubbing and strap damage.
- Secure heavy feet separately from mesh and verify that hardware cartons are closed and labeled.
- Match bundle marks, quantities, and order references to the final packing list.
- Confirm actual gross weights and package dimensions against the carrier’s loading plan. A panel-weight estimate does not replace the packed shipment’s gross weight.
Agree on blocking, tiedowns, edge protection, and loading responsibility with the carrier. For applicable U.S. interstate commercial motor-vehicle transport, FMCSA rules address preventing cargo from shifting or falling and set securement performance requirements; they are not a universal ocean-container packing standard. Cargo securement rules
Use the packing and handling arrangements for storing and transporting temporary fence panels to check that the receiving team can unload the bundles without damaging them. Where loading happens after inspection, name the person responsible for the final loading and securement check.
Document findings and decide whether to release
Record the order revision, lot identification, quantities, sample selection, instruments, readings, defect counts, photographs, and acceptance decision. Separate quantity reconciliation from sampled quality results. Identify who can approve release and any buyer-authorized concession.
Make each finding traceable
A useful record connects the bundle label, piece ID, and defect location. Take an overall view to identify the item, a close-up of the defect, and a readable measurement photo where relevant. Enter the specified limit and the actual result together. After repair, use the same ID for the reinspection evidence rather than replacing the original failure record.
- Accept: The lot satisfies the agreed sampling and acceptance rules, required documents are complete, and quantities and packing match the order.
- Rework and reinspect: Identify and correct nonconformities, then follow the agreed reinspection procedure. Replacing failed sample pieces alone does not demonstrate lot acceptance.
- Hold: Unresolved safety-related defects, failed acceptance criteria, missing critical evidence, shortages, or incompatible parts prevent release.
Correct an actual shortage or obtain written approval for a changed shipment; editing the packing list alone does not fulfill the original order.
Frequently asked questions
Should inspection happen before or after packing?
Use both stages: inspect accessible panels and trial-fit parts before final packing, then verify packed quantities, labels, and bundle condition. Reopen selected bundles if packing prevents the agreed checks.
How long does a pre-shipment inspection take?
There is no single duration for every order. Agree on time based on the number of lots and samples, access to stock, required measurements, trial assembly, coating checks, and reporting. Allow separately for repairs and reinspection.
Who should inspect temporary fencing?
Use a buyer’s representative or independent inspector who can interpret the specification, use the required instruments, document defects, and escalate a failed lot. Arrange specialist testing when the acceptance criteria require it.
What if tolerances or acceptance limits are missing?
Agree on them in writing before inspection, including measurement conventions, sampling, finish requirements, defect disposition, and release authority. Do not invent a passing limit after seeing the results.
Bottom line
A useful pre-shipment inspection produces a traceable decision, not just photographs of tidy bundles. Match the delivered configuration and quantities to the order, test-fit the actual parts, and close out nonconformities before authorizing dispatch.
Preparing a temporary fencing order? Send your drawing, quantities, finish requirements, and inspection criteria with your inquiry.
References
- ISO 2859-1:2026, Sampling procedures for inspection by attributes — Part 1: Sampling schemes indexed by acceptance quality limit (AQL) for lot-by-lot inspection. ISO 2859-1:2026 — Sampling schemes indexed by acceptance quality limit (AQL) for lot-by-lot inspection.
- NIST Guide to the SI, Appendix B.8: Factors for Units Listed Alphabetically. NIST conversion factors.
- ASTM A123/A123M-24, Standard Specification for Zinc (Hot-Dip Galvanized) Coatings on Iron and Steel Products. ASTM scope and abstract.
- U.S. Federal Motor Carrier Safety Administration, Cargo Securement Rules. FMCSA cargo securement guidance.