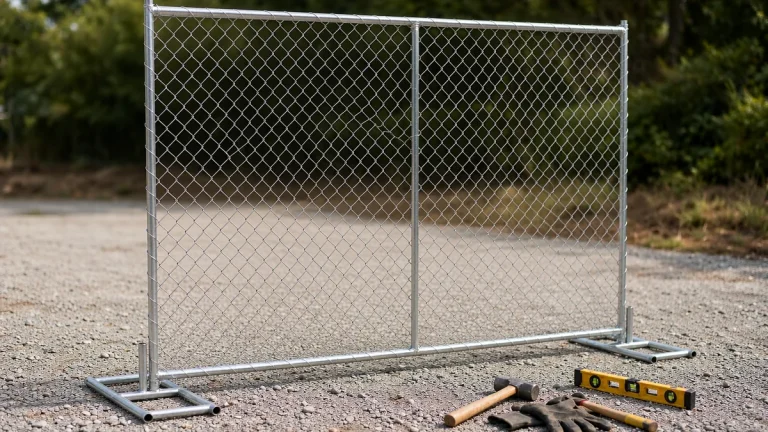
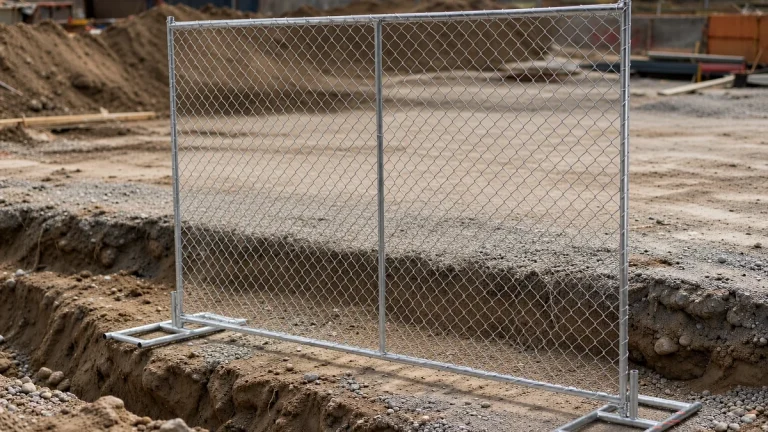
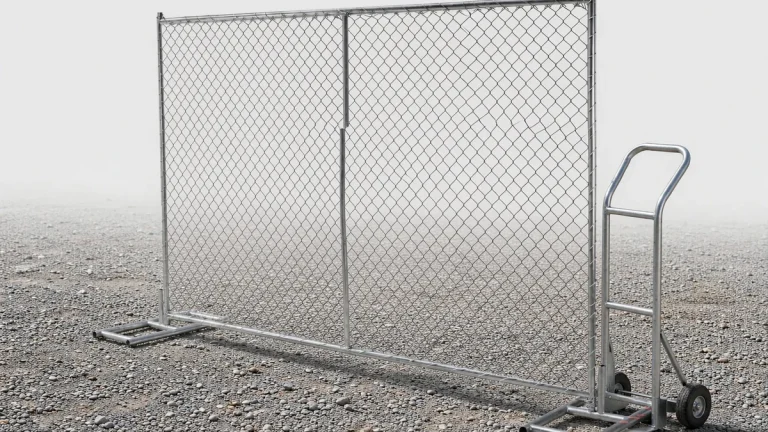
Choose anti-climb temporary fence panels by matching the clear mesh opening, climbable rails, installed height and bottom gap to the people or animals you need to contain or exclude. Then check the frame, connections, gate and site-specific support design. A tall panel with large footholds, a loose joint or an accessible gate can still leave an easy route through the boundary.
Ask for a dimensioned drawing and the complete installation specification before ordering. “Anti-climb” on a quotation does not establish suitability for your site. The examples below compare published panel options with guidance for construction sites, playgrounds, pools and licensed dog boarding; those applications have different requirements.
Start with the application
Identify who could reach the fence, which side they approach from, and whether the boundary protects a worksite, contains animals or separates children from a hazard. Use the applicable local requirements rather than combining numbers from different countries into one specification.
| Application | Published guidance | Selection consequence |
|---|---|---|
| Construction site in Victoria, Australia | Security fencing should be at least 1.8 m high; demolition may require more. Gates and joints should be secure, and fencing stable under anticipated loads. [1] | Check the installed boundary, including gates and supports, rather than nominal panel height alone. |
| Construction site in a populated area of Great Britain | HSE describes a 2 m small-mesh fence or hoarding as typical. This is not a universal statutory height minimum. [2] | A nominal 6 ft panel is only 1,828.8 mm high, about 171 mm below that typical figure. |
| US playground perimeter | CPSC recommends a top at least 4 ft above grade and bottom clearance no more than 4 in, measured on both sides. Its fencing guidance addresses children under twelve. [3] | Assess rails, openings, protrusions and adjacent climbing aids as well as height. |
| US residential pool barrier | CPSC recommends at least 48 in height; 5 ft or higher is preferable. Bottom-clearance limits depend on the surface and fence type. [4] | Choose a complete pool-barrier arrangement that meets local requirements, including its gate. |
| Licensed dog boarding in England | Accessible mesh wire must be at least 2 mm. Square mesh must not exceed 50 × 50 mm; chain link must not exceed 75 × 50 mm. Openings must also prevent head passage and entrapment. [5] | Assess mesh, digging, escape routes and the individual dogs. These limits do not establish a universal specification for every private dog run. |
England’s boarding guidance also gives a 1.8 m minimum headroom recommendation for each kennel unit. That is unit headroom, not a numerical fence-height minimum; fencing must be of sufficient height, strong, rigid, dig-proof and maintained in good repair. [5]
Specify clear openings and rail geometry
Clear opening is the space between wires. Pitch is the centre-to-centre spacing: for equal-diameter wires, pitch equals clear opening plus one wire diameter. For example, 12.7 mm clear opening with 1.07 mm wire gives 13.77 mm pitch. Haisen’s mesh size and wire gauge guide uses this distinction. Write both opening dimensions and their orientation on the drawing.
What the child-safety guidance actually measures
If the distance between the tops of the horizontal members is less than 45 inches, the horizontal members should be located on the side opposite the playground to prevent children using them as a ladder, and the spacing between the vertical members should not exceed 1-3/4 inches to prevent footholds. [3]
The 45 in dimension is 1,143 mm and is measured top-to-top between horizontal members. It is not automatically the distance from an arbitrary midrail to the panel’s overall top. CPSC allows up to 4 in spacing between vertical members where the horizontal-member spacing is at least 45 in; decorative cutouts remain limited to 1¾ in. Here, “spacing between vertical members” means the horizontal clear gap between them. [3]
These are geometry-specific recommendations, not proof that a welded-mesh panel has passed a climbing test. For chain link, the playground handbook specifies nominal 1¼ in openings between parallel sides and a maximum 1¾ in horizontally between installed corners. Pool guidance also has a chain-link-specific mesh provision; passing its general 4-inch sphere test alone is insufficient. [3][4]
How the published panel openings compare
Haisen’s published Canadian-style temporary fence panels list 6 ft height, lengths of 8, 9.5 or 10 ft, and wire diameters of 3.0, 3.5 or 3.8 mm. The listed mesh options are shown below. Confirm whether quoted dimensions are clear openings or pitch before applying the comparison. [6]
| Opening treated as clear | Comparison with 44.45 mm spacing | Comparison with a 50 × 50 mm mesh specification |
|---|---|---|
| 50 × 100 mm | The shorter side is 5.55 mm wider. | The longer side exceeds 50 mm by 50 mm. |
| 50 × 150 mm | The shorter side is 5.55 mm wider. | The longer side exceeds 50 mm by 100 mm. |
| 50 × 200 mm | The shorter side is 5.55 mm wider. | The longer side exceeds 50 mm by 150 mm. |
| 75 × 100 mm | The shorter side is 30.55 mm wider. | Both sides exceed 50 mm. |
| 75 × 150 mm | The shorter side is 30.55 mm wider. | Both sides exceed 50 mm. |
The table is a dimensional comparison, not a certification decision. None of these options matches a 50 × 50 mm maximum-opening specification, and thicker wire does not resolve that mismatch. For licensed boarding, select mesh that satisfies the applicable guidance and still prevents head passage or limb entrapment for the dogs using it. [5]
If the panel range is too coarse, ask about an alternative assembly. Haisen’s welded mesh range includes openings from ¼ in to 2 in, but a small opening alone does not establish wire strength, frame adequacy or secure attachment. Its chain-link temporary panels are a different construction and need their own mesh, frame and support specification.
Check height and bottom clearance together
A 6 ft panel is nominally 28.8 mm taller than 1.8 m. Measure the installed height on the relevant side of the boundary: uneven ground, panel position and feet affect the result. Raising a panel can increase bottom clearance, while adding an upper section changes the structural arrangement. Use a taller approved assembly or obtain a revised design rather than assuming stacking panels is an acceptable fix. [1][2]
For playgrounds, CPSC’s maximum ground clearance is 4 in (101.6 mm), measured on both sides. Pool guidance distinguishes surfaces: up to 4 in over a solid surface, reduced to 2 in (50.8 mm) over grass or pebbles, and 1 in (25.4 mm) for removable mesh fences. These are not general construction-fence clearance limits. [3][4]
Keep pallets, bins, stored panels and equipment away from the approach to the fence. CPSC pool guidance specifically addresses objects that could help someone climb over. On a playground fence, check for protrusion hazards below 54 in (1,371.6 mm) above grade. [4][3]
Inspect the frame, joints and gate
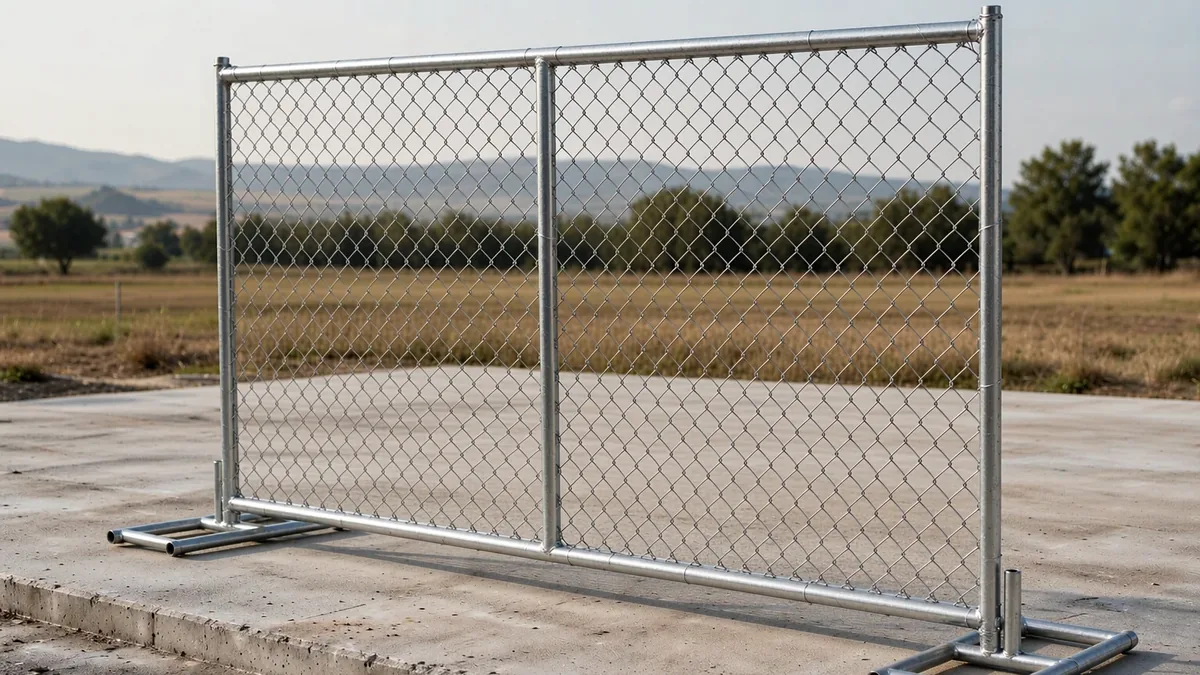
The published welded-panel options include 25 × 25 mm or 30 × 30 mm outer frames and a 20 × 20 mm or 25 × 25 mm middle horizontal pipe. The product page does not publish tube wall thickness. Ask for it, along with weld details, how the mesh terminates inside the frame, and the specified coupling type and quantity per joint. [6]
WorkSafe Victoria advises against using sheets of reinforcing mesh as site fencing because they can provide handholds and footholds and have protruding ends. A framed panel still needs secure connections and noninjurious mesh ends; a frame does not by itself establish climbing resistance. [1]
For a gate, specify the clear opening between posts, leaf height, hinge arrangement, latch, opening direction and bottom gap. Haisen’s gate measurement guide covers the dimensions needed to match a chain-link gate assembly. ASTM F567-23 covers chain-link installation, including posts, bracing, fabric and gates; it does not certify a welded temporary panel. [7]
A pool access gate needs more than a small bottom gap: CPSC recommends a locking device, and pedestrian gates that open away from the pool, self-close and self-latch. The guidance also controls latch-release placement and nearby openings. Confirm the complete local pool-barrier requirements before selecting the gate. [4]
Specify supports for the actual site
The law says any temporary structure must be designed, installed and maintained to withstand any foreseeable loads which may be imposed on it and that it be only used for the purposes for which it was designed, installed and maintained. [8]
HSE lists site fencing and hoarding as temporary works. For events, its barrier-selection guidance considers wind and crowd loading, ground conditions and the intended use. A perimeter fence must not be assumed to provide crowd restraint or vehicle protection. [8][9]
A wind specification needs the applicable local design basis, exposure, fence height and length, screening, ground conditions and support arrangement. BS EN 1991-1-4 addresses wind actions within the Eurocode framework; its relevant national provisions and applicability must be established for the project. Haisen publishes no project wind rating for these panels without engineering review. [10][6]
Use a layout showing corners, ends, gates, feet, braces, ballast and any permitted anchors. Haisen’s installation planning guide covers these components, while its panel size guide explains quantity planning. Panel counts alone do not determine safe support quantities. [11][12]
Choose rubber temporary fence feet by their specified weight, footprint and compatibility with the assembly. Do not substitute a general-purpose mesh fence post for an approved panel support. Adding shade cloth or signage changes the wind case and may require additional support. [1]
Match the finish to the exposure
Request the coating system, applicable standard, inspection documentation and repair procedure. ISO 1461:2022 covers hot-dip galvanizing of fabricated iron and steel articles; ISO 9223:2012 classifies atmospheric corrosivity. ASTM A123/A123M is another hot-dip galvanizing specification. Citing these standards alone does not establish the service life of a particular panel. [13][14]
For damaged hot-dip galvanized areas, specify an appropriate repair under ASTM A780/A780M. Its repair materials include zinc-based solders, paints containing zinc dust and sprayed zinc. Powder-coated panels need a repair procedure appropriate to their coating system. Check contact points at feet and couplings after relocation, as discussed in Haisen’s galvanized and powder-coated panel comparison. [14][15]
Use weight estimates for comparison
Haisen’s panel-weight guide uses a 50 × 100 mm clear opening, a 25 × 25 mm outer frame and one same-section middle rail, with an assumed 1.0 mm tube wall. The figures below exclude coating, feet, clamps and packaging. They are calculated estimates, not measured finished weights. [16]
| Panel size | 3.0 mm wire | 3.5 mm wire | 3.8 mm wire |
|---|---|---|---|
| 6 × 8 ft | 15.3 kg | 17.8 kg | 19.5 kg |
| 6 × 9.5 ft | 17.7 kg | 20.6 kg | 22.6 kg |
| 6 × 10 ft | 18.5 kg | 21.6 kg | 23.7 kg |
For the 6 × 8 ft example, changing 3.0 mm wire to 3.5 mm adds 2.5 kg at the assumed 1.0 mm tube wall. A separate sensitivity calculation keeps 3.0 mm wire and changes the wall from 0.8 mm to 1.2 mm: 13.7 kg becomes 16.9 kg, a 3.2 kg increase. These are two specified comparisons, not evidence that wall thickness always matters more than wire diameter. The wall values are calculation scenarios, not confirmed product options. [16]
A separate hypothetical handling example assumes a rental panel at 14 kg, with a 29 kg filled base and about 1 kg of clamp: roughly 44 kg altogether. Those assumed masses do not identify a supplied panel model or establish compatibility; they are not a like-for-like product comparison. Obtain the finished net weight for your ordered configuration. [16]
Assess handling using the actual weight, panel size, grip, route and wind conditions. HSE’s manual-handling guidance calls for task-specific assessment. Plan storage and transport using racks that support the frames and verified vehicle loads; Haisen’s panel storage and transport guide covers those arrangements. [17]
What the worked calculations establish
No panel or shipment was weighed for this article, and no site was measured. The worked examples use published dimensions and a reproducible calculation method. They support comparison and procurement questions; they are not field-test evidence of climbing resistance or structural capacity.
Reproducing the weight example
For a 6 × 8 ft panel, the published model uses 1.8288 × 2.4384 m. A 50 × 100 mm clear opening with 3.0 mm wire gives pitches of 0.053 × 0.103 m. Wire length per square metre is approximately 1/0.053 + 1/0.103 = 28.58 m. With circular 3.0 mm wire and the model’s assumed steel density of 7,850 kg/m³, that gives about 7.07 kg of mesh. The nominal tube lengths at an assumed 1.0 mm wall contribute about 8.27 kg, for approximately 15.3 kg total. [16]
This model uses the full panel rectangle for mesh area and nominal tube lengths. It does not resolve actual wire counts, corner radii, mitres or mesh overlap at the frame, and it excludes coatings and attached hardware. Its useful lesson is to obtain the missing wall thickness and finished-weight evidence before using an estimate for freight or handling.
Separating open area from wind resistance
For a rectangular clear opening a × b and wire diameter d, the ideal projected open fraction is ab/[(a+d)(b+d)]. At 50 × 100 mm and 3.0 mm wire, it is 5,000/(53 × 103) = 91.6%; at 3.8 mm wire, it is about 89.5%. This treats each wire as a projected strip of its diameter, not as square-section steel, and excludes frame and weld-detail effects. Neither percentage is a wind rating.
Planning quantities without inventing support counts
For a hypothetical straight 120 m run, dividing by the nominal panel length and rounding up gives 50 eight-foot panels, 42 nine-and-a-half-foot panels or 40 ten-foot panels. Using the 3.0 mm-wire estimates above gives 765 kg, 743.4 kg or 740 kg of bare-panel steel respectively. This is a stock-planning comparison; joint overlap, corners, end conditions and gates change the installed layout. [12][16]
Forty panels in a single open-ended run create 39 panel-to-panel joints, not necessarily 39 clamps. The specified connectors per joint determine the clamp total. Likewise, count feet, braces and anchors from the approved layout rather than assuming one per panel. A 4 m gate reduces the remaining panel run to 116 m, requiring 39 nominal ten-foot panels before layout adjustments.
Put the checks into the purchase order
ASTM F1553 is a guide to specifying chain-link fence elements and installation procedures. Its scope is chain link; the table below is a procurement checklist for this article, not a claim that the standard certifies welded panels. [18]
| Specify | Evidence to request | Acceptance check |
|---|---|---|
| Application and design basis | Site use, access side, applicable guidance or code, approved layout | Confirm the supplied assembly matches the intended use. |
| Mesh and wire | Clear opening in both directions, pitch, wire diameter, coating basis and tolerances | Measure openings and wire using the agreed method. |
| Rails, height and bottom gap | Dimensioned drawing showing horizontal-member spacing, face, installed height and ground profile | Compare dimensions at delivery and after installation; inspect both relevant sides. |
| Frame and mesh ends | Tube sections, wall thicknesses, weld and termination details | Review documents and inspect damage or sharp ends; use an agreed thickness-verification method where required. |
| Joints and gate | Connector type and quantity per joint, fixing instructions, gate hardware and operating requirements | Count fittings and check installation, closure and latching. |
| Supports and exposure | Feet, ballast, bracing and anchors for the ground, wind exposure and any screening | Compare components with the layout and confirm their installed positions. |
| Coating and finished weight | Coating specification and inspection evidence, repair procedure, confirmed net weight | Inspect coating condition and verify documents and weight by the agreed acceptance method. |
Record the panel or batch identification, specified value, observed result, measuring method and any discrepancy. Inspect wire ends visually rather than running a bare hand along an unknown edge. Do not treat successful gate operation or a hand check of a coupling as a structural load test.
Choose the panel that meets the required opening and climbable-geometry limits within a supported, complete assembly. Confirm height and clearance after installation, and repeat the relevant checks after relocation or changes to screening. A delivery check establishes what arrived; the installed boundary determines what it can do.
Send the line length, the clear opening, the wire diameter, the finished height and the ground the panels will stand on, and ask for the panel specification, the panel count for the line, the couplings, the feet and the confirmed finished weight.
Sources and standards
Sources checked on 26 October 2026. Manufacturer pages support their own published specifications and calculations; they are not independent product certification.
- WorkSafe Victoria — Construction site security fencing.
- HSE — Protecting the public.
- CPSC — Public Playground Safety Handbook (2025), section 2.1.2.
- CPSC — Safety Barrier Guidelines for Residential Pools.
- DEFRA — Dog kennel boarding statutory guidance, section 5.1.
- Haisen — Published temporary fence panel specifications.
- ASTM F567 Standard Practice for Installation of Chain-Link Fence.
- HSE — Temporary works.
- HSE — Using barriers at events.
- BSI — BS EN 1991-1-4, Wind actions.
- Haisen — Temporary fence installation planning.
- Haisen — Panel size and quantity guide.
- ISO 1461:2022 — Hot dip galvanized coatings on fabricated iron and steel articles: Specifications and test methods; ISO 9223:2012 — Corrosivity of atmospheres: Classification, determination and estimation.
- ASTM A123/A123M Standard Specification for Zinc (Hot-Dip Galvanized) Coatings on Iron and Steel Products; ASTM A780/A780M Standard Practice for Repair of Damaged and Uncoated Areas of Hot-Dip Galvanized Coatings.
- Haisen — Hot-dip galvanized and powder-coated panels.
- Haisen — Panel-weight calculations and assumptions.
- HSE — Manual handling at work, INDG143 (rev4).
- ASTM F1553 Standard Guide for Specifying Chain Link Fence.