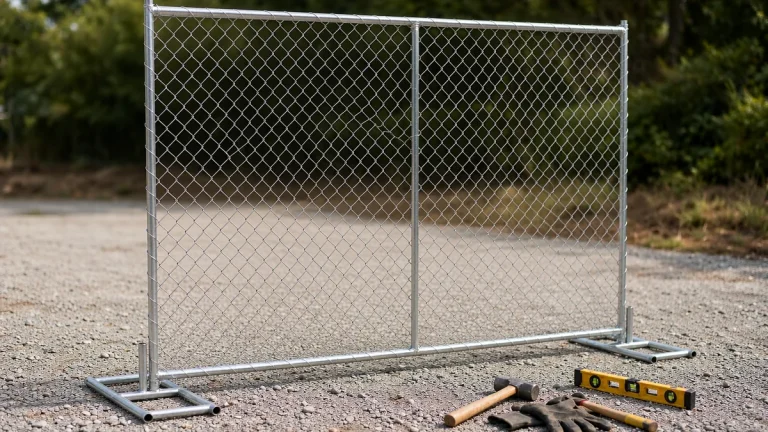
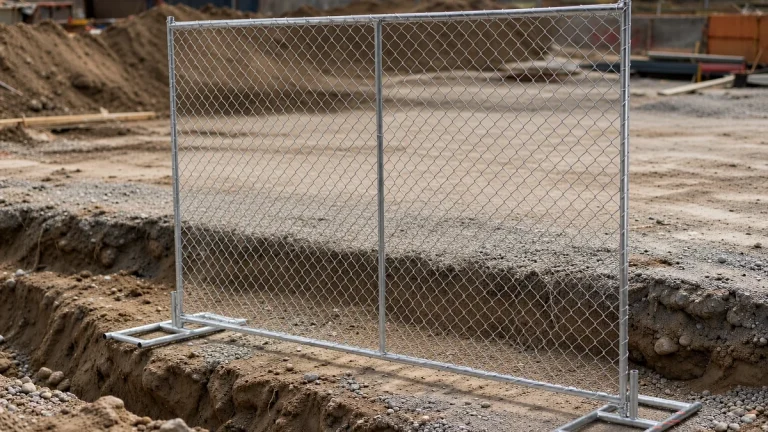
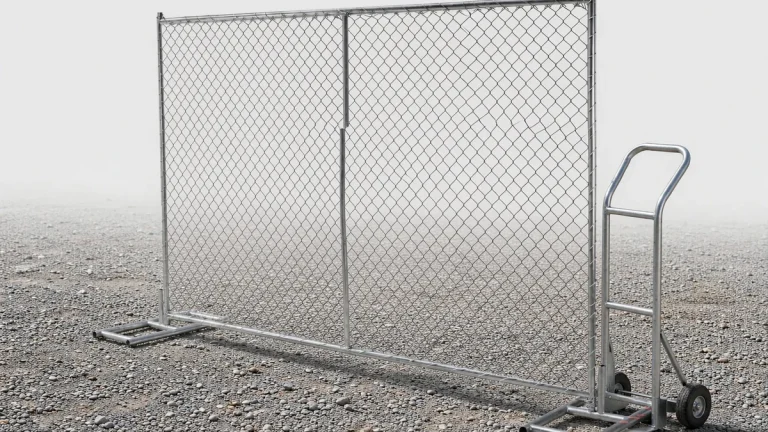
Yes, but only if the authority responsible for the sidewalk allows the occupation and approves how pedestrians will get past it. Do not assume that owning the adjoining property gives you permission. Before installing panels, confirm the permit requirements, the fence footprint, and the accessible walking route. Seattle, for example, has a right-of-way construction permit process covering construction safety buffers and temporary structures [1].
A fence that fits on the paving may still leave too little space for pedestrians once its feet, braces, ballast, and gate swing are included. If the complete assembly will not fit beside the approved route, move the fence inside the site or obtain approval for a closure and accessible detour. Do not simply send people into the road.
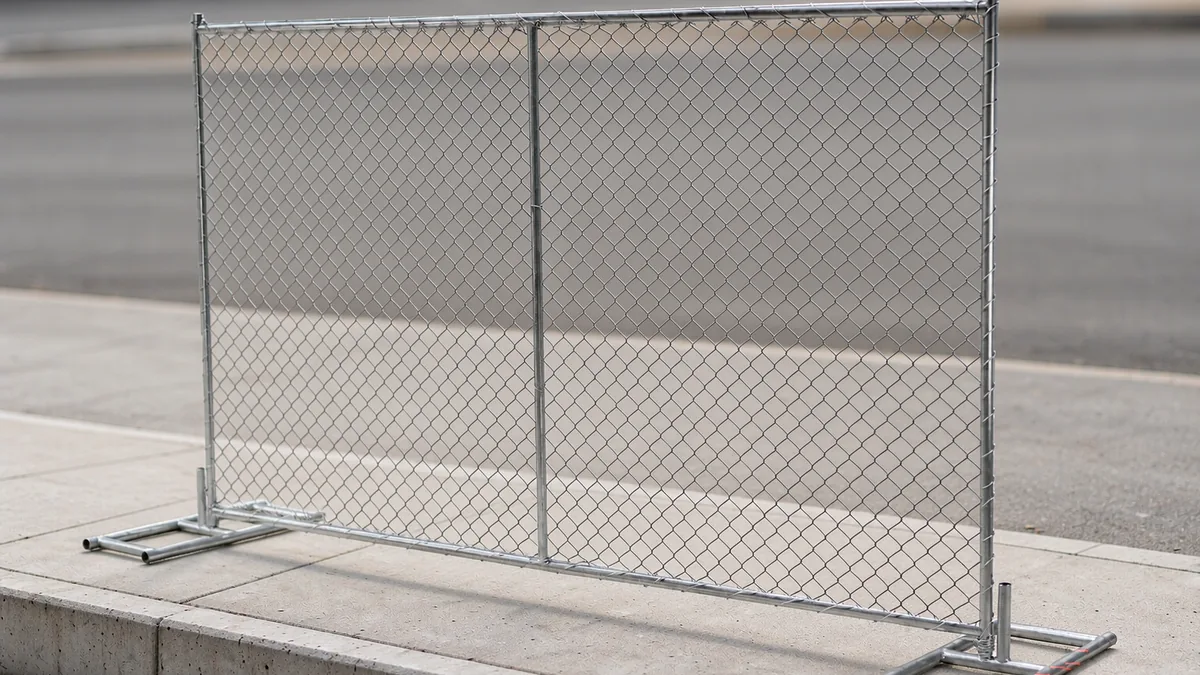
Permission comes before the fence layout
Start with the local transportation, highways, or right-of-way office. Ask whether your address is on a public right-of-way, which permit covers temporary fencing, and whether the proposal needs a separate pedestrian traffic-control plan. A building permit or the property owner’s consent should not be treated as permission to occupy the sidewalk.
Permit names and submission requirements vary. Seattle’s construction-use process, for example, requires a right-of-way impact plan, identifies site plans for certain uses, and sets out when a temporary traffic-control plan may be required. Those are Seattle requirements, not a nationwide application checklist [1].
For your initial inquiry, prepare:
- The address, proposed installation and removal dates, and a site contact.
- A measured sketch showing the sidewalk, curb, property boundary, fence, feet, braces, ballast, and gates.
- The narrowest remaining walking width, including obstructions such as poles and tree pits.
- A proposed pedestrian route, with entrances, crossings, curb ramps, signs, and any closure or diversion marked.
- Questions about inspections, insurance, pavement protection, and emergency access.
This is a preparation list, not a substitute for the local application form. Obtain the required written approval before installation, and ask how changes to the layout or dates must be authorized.
How much clear sidewalk width to leave
Use the width required for your particular route, not one universal number. The U.S. references below address different situations. Their dimensions are useful for planning, but the responsible authority must identify the applicable standards and the approved layout.
| Reference and situation | Published dimension | How to apply it |
|---|---|---|
| PROWAG R302 pedestrian access routes | Generally 48 inches (1220 mm) minimum continuous clear width, excluding the curb. Where width is less than 60 inches (1525 mm), R302.3 specifies 60 × 60-inch passing spaces at intervals no greater than 200 feet (61 m) [2]. | R302 includes separate provisions for medians, refuge islands, and shared-use paths. Do not apply the general width without checking the route type. |
| PROWAG R303 alternate pedestrian access routes | R303.4 specifies 48 inches (1220 mm) minimum, excluding the curb. Its exception says that when an alternate route uses an existing pedestrian circulation path, its width must not be less than that of the temporarily closed path [2]. | Check the exception and the authority’s requirements before treating 48 inches as the answer for a diversion. |
| MUTCD temporary pedestrian facilities | The cited 11th Edition guidance says to retain the existing width if practical. If 60 inches cannot be maintained throughout, a 60 × 60-inch passing space should be provided at least every 200 feet [3]. | This is “should” guidance, not a blanket rule that every temporary path must be 60 inches wide. Typical Application 28 illustrates a 48-inch alternate route with a 60-inch passing area every 200 feet. |
Guidelines and enforceable standards are not interchangeable. The Access Board develops PROWAG technical guidelines; applicability depends on adoption and the project. Its DOT adoption notice specifically addresses new construction and alterations of transit stops in the public right-of-way, effective January 17, 2025. That notice is not proof that every existing sidewalk is subject to the same federal construction standard. Confirm the standards adopted by the authority reviewing your site [4].
Why the ADA 36-inch figure is not a shortcut
The 2010 ADA Standards specify a 36-inch (915-mm) walking-surface clear width under Section 403.5.1, with a limited exception for short reductions. That provision is not permission to reduce a public-sidewalk work-zone route to 36 inches. Use the applicable right-of-way and temporary-route requirements instead of choosing the smallest number from a different setting [5].
Protrusions and detectable edging need separate checks
Under ADA Section 307.2, objects with leading edges more than 27 inches (685 mm) and no more than 80 inches (2030 mm) above the surface generally may protrude no more than 4 inches (100 mm) into a circulation path. Check clamp handles, signs, and brackets in that height range. This is not a four-inch allowance to obstruct the required clear walking width [5].
Where channelizing devices delineate an alternate route, PROWAG R303.6 specifies continuous detectable edging, with permitted gaps where pedestrians or vehicles turn or cross. The bottom of the bottom edging is no more than 2 inches (51 mm) above the surface; the top of the top edging is at least 32 inches (815 mm) high. R303 also addresses advance route information, nonvisual information, and curb transitions. Open-foot mesh panels alone should not be assumed to provide a compliant pedestrian channelizing system [2].
Check whether the whole fence assembly fits
Measure the usable sidewalk at its narrowest point, not just where the panels will arrive. Then subtract the route width specified for your plan. What remains must accommodate the entire fence assembly and any required separation.
| Assumed usable sidewalk width | Assumed approved route width | Remaining space for the assembly and separation |
|---|---|---|
| 5 ft (60 in) | 48 in | 12 in, approximately 305 mm |
| 6 ft (72 in) | 48 in | 24 in, approximately 610 mm |
| 8 ft (96 in) | 60 in | 36 in, approximately 914 mm |
| 10 ft (120 in) | 60 in | 60 in, approximately 1524 mm |
These are subtraction examples, not approvals or evidence that a particular panel system will fit. The metric values in this table are rounded conversions; the standards above use their published metric equivalents. No foot size or universal buffer has been assumed.
A worked planning example for a five-foot sidewalk
Suppose the usable sidewalk measures 60 inches and the reviewing authority accepts a 48-inch route for that location. Only 12 inches remain. A panel centerline drawn within that strip proves very little: the outermost foot, brace, ballast, clamp, and open gate must also be checked against the route boundary.
Mark both boundaries on the sketch and record the assembly’s actual projection from the supplier’s dimensional drawing or a controlled measurement away from public traffic. If that projection exceeds the available strip, this layout does not fit. Do not turn a foot, omit a brace, or reduce ballast just to make the drawing work without approval of the revised support arrangement.
This is a planning example, not a reported installation or an approved design. Haisen’s temporary fence product page lists nominal panel sizes but does not provide an installed foot-and-brace footprint. Obtain that information for the selected assembly before relying on the calculation. The panel size and layout guide can help organize panel quantities, corners, and gates; it does not replace the sidewalk approval.
Plan support, gates, and wind exposure together
Do not drill the sidewalk without authorization
Ask the authority whether drilling, pinning, staking, or attaching to street furniture is allowed. Occupation approval should not be treated as approval of every fixing method. Check pavement protection and buried-utility requirements before proposing any penetration.
For a freestanding arrangement, use the specified feet, connections, bracing, and ballast for the actual site. The concrete installation guide and temporary fence installation planning guide explain the components to discuss with the supplier. Neither establishes that a particular assembly is suitable for a public sidewalk.
Panel dimensions are not wind-load ratings
Haisen lists nominal 6-ft-high panels in 8, 9.5, and 10-ft lengths, with 3.0, 3.5, or 3.8-mm wire and 25 × 25 or 30 × 30-mm outer frames. At that nominal height, the rectangular envelopes are 48, 57, and 60 sq ft, approximately 4.46, 5.30, and 5.57 m². These are height-times-length calculations from the published product dimensions, not measured solid areas or wind resistance.
A privacy or dust screen can increase solidity and change wind loading without increasing the panel’s rectangular envelope. Have the screened configuration assessed before fitting it. Do not infer a safe ballast quantity, wind speed, or clamp count from panel dimensions alone.
As a UK reference, HSE includes site fencing and hoarding within temporary works and says temporary structures must be designed, installed, and maintained for foreseeable loads. This supports checking the complete assembly, not borrowing a ballast rule from an unrelated site [6]. Discuss foot movement and ballast connections with the supplier or competent designer while keeping every component outside the approved route.
Check the gate in its open position
A closed gate can look clear on a drawing and block the sidewalk when opened. Include the full gate swing and access arrangement, including delivery operations. Keep public access separate from work movements as the approved plan requires, and do not leave materials or loose feet in the route while unloading.
When the sidewalk must close or the fence must move
If the assembly and accessible route cannot coexist, the options are to move the fence inside the authorized work area or seek approval for a closure with an accessible alternative. Confirm the property and right-of-way boundaries; the edge of the paving is not necessarily the boundary.
The MUTCD discusses detours and diversions, canopied walkways for falling-debris protection, and consideration of traffic barriers where pedestrians are brought closer to vehicles. Covered walkways should be sturdily constructed and adequately lit for nighttime use. Ordinary mesh fencing is not a substitute for a crashworthy traffic barrier [3].
For UK projects, HSE says populated sites typically need two-meter-high small-mesh fencing or hoarding and warns that obstructing the pavement can force pedestrians into traffic. That guidance addresses site security and public protection; it does not determine the legal fence line or grant permission to occupy a pavement. A nominal 6-ft panel is about 1.83 m high, so it should not be represented as a 2-m fence [7].
Keep the approved route usable throughout the job
A permit drawing describes an arrangement, but the arrangement can change after installation. As a practical inspection routine, check the pedestrian side before opening the route each day and after weather, deliveries, or contact that could have disturbed it. Follow any additional inspection schedule in the permit or design.
- Measure the narrowest clear width again, including passing spaces where specified.
- Check for displaced feet, loose clamps, shifted ballast, and gates opening into the path.
- Check the walking surface, curb transitions, detectable edging, and route information.
- Check lighting and signs under the conditions in which people will actually use the route.
- Confirm that fence panels or screens have not obscured sightlines at corners and driveways.
Record the date, location, measured clearance, defect, corrective action, and person responsible. If the route becomes unsafe, stop the activity creating the hazard and restore the approved arrangement or activate the authorized alternative; do not leave pedestrians to improvise around it.
Common sidewalk fence mistakes
| Mistake | Better approach |
|---|---|
| Installing first and applying later | Confirm the correct permit and receive the required approval before occupying public space. |
| Measuring only the mesh line | Include feet, braces, ballast, protrusions, and the full gate swing. |
| Treating 36, 48, or 60 inches as universally applicable | Identify the route type, adopted standards, exceptions, and approved clear width. |
| Removing support components to gain walking space | Move or redesign the assembly with the responsible designer rather than compromising its support. |
| Using mesh panels as vehicle or fall protection | Provide protection designed and approved for the specific hazard. |
| Blocking a driveway sightline | Revise the layout with the authority. MUTCD guidance says fencing should not restrict road users’ sight distance [3]. |
Frequently asked questions
Do I need permission for one panel for one day
Do not assume that a short duration or small quantity creates an exemption. Ask the local right-of-way office whether your proposed occupation needs a permit or other written authorization. Give the exact location, dates, footprint, and remaining clear width. Fees, lead times, and insurance requirements must be checked locally.
Can I close the whole sidewalk
Possibly, if the authority approves the closure and the accessible alternative. You cannot treat an unmarked diversion into traffic as an acceptable replacement. The approved plan must address how people reach and follow the alternate route, including crossings and curb transitions where needed [2] [3].
Is a wide sidewalk automatically suitable
No. Extra width helps only if the full assembly fits and the authority approves it. Entrances, bus stops, driveway visibility, underground services, gate movements, and local conditions can still rule out the proposed location.
Does a sidewalk permit approve the fence’s structural stability
Do not assume so. Check what the approval actually covers. Obtain the appropriate assembly details and any required design verification for wind exposure, screens, support, and fixing methods.
Who is liable if someone trips
Liability depends on local law, the contracts, and the circumstances. A permit does not settle that question. Keep the approved plan and inspection records, confirm insurance requirements, and seek local legal advice for a specific incident.
Before you order or install
Confirm permission, measure the full assembly, and protect the approved pedestrian route. If the numbers do not work, change the layout or obtain an approved alternative before delivery. When the occupation ends, remove the panels, feet, ballast, and temporary equipment and restore the route as required. The storage and transport guide covers handling the panels after removal.
Planning a fence beside a sidewalk? Send Haisen your panel sizes, run length, and measured layout to discuss component options. Confirm right-of-way permission and pedestrian routing with the local authority.
Sources
- Seattle Department of Transportation, Right-of-way Construction. Construction-use scope and application documents. Accessed October 27, 2026.
- U.S. Access Board, PROWAG technical requirements. R302.2–R302.3 and R303.2–R303.6, including the R303.4 exception. Accessed October 27, 2026.
- Federal Highway Administration, MUTCD, 11th Edition, Part 6. December 2023 edition; pedestrian considerations, channelizing devices, and Typical Application 28. Confirm the edition adopted for the project. Accessed October 27, 2026.
- U.S. Access Board, DOT adoption of PROWAG. December 18, 2024 notice describing adoption for new and altered transit stops. Accessed October 27, 2026.
- U.S. Department of Justice, 2010 ADA Standards for Accessible Design. Sections 403.5.1 and 307.2. Accessed October 27, 2026.
- UK Health and Safety Executive, Temporary works. Temporary structures, foreseeable loads, and site fencing. Accessed October 27, 2026.
- UK Health and Safety Executive, Protecting the public. Site boundaries, typical fencing, and pavement obstruction. Accessed October 27, 2026.
Product information: Haisen temporary fence specifications, accessed October 27, 2026. Manufacturer-listed dimensions are not independent certification, an installed footprint, or a project-specific wind-load rating.